This race is held annually at the Goodwood Festival of Speed in England. This video is from 2023’s festival. It is truly a pleasure to watch A vintage Thunderbird properly race prepped and running against other period cars with similar ability. https://youtu.be/5F5LVISB0HQ?si=GjF-JX16iTOyEYjA We hope you enjoy it as much as I did.
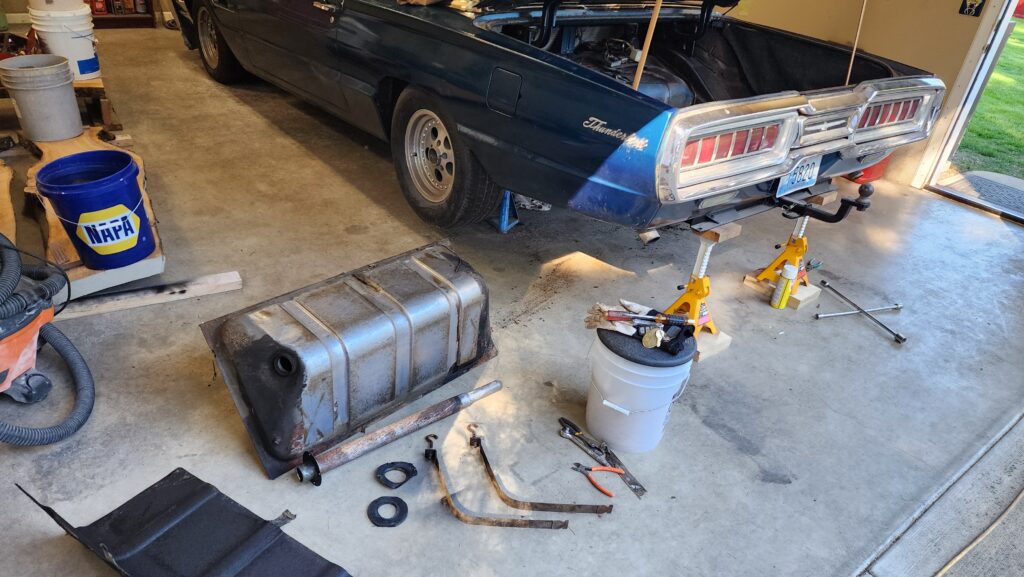
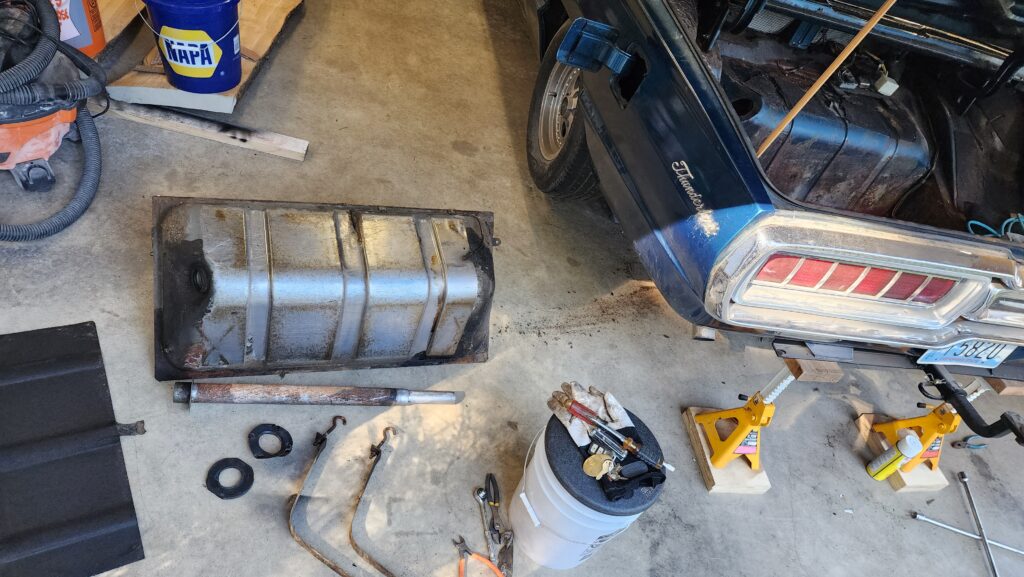
In this image you can see the tank positioned, as it sits in the car, on the floor next to the car with a trail of debris from sliding the tank on the floor out from under the car. This is a 1965 Thunderbird Coupe. I used four jack stands, to hold both the rear axle up and the body, for enough clearance to remove the tank once detached and lowered. First thing to do after emptying the tank and raising car; the rubber fuel line is detached from the sending unit on the front of the tank, held on with a hose clamp. The filler neck assembly is then taken apart and removed by unscrewing four screws on the neck (in the gas door) and sliding the neck out of the gas door. There is also a gasket between the neck and body in the gas door and one “O” ring on the tank end of the neck that will stay in the tank. I used a floor jack to help support the empty tank and lower it. The tank mounting straps are then loosened by way of nuts on the lower end of the hooks when tank is empty. In front of the tank on the floor here is the filler neck. It is a vented neck (effective when filling the tank at a station) using a hole in an outer tube on the neck from high inside the tank up to the gas door area where you can see a large flange at one end of the neck. The hole at the top of the tank is where the filler neck slides into the tank and is sealed by a thick O-ring in a groove in that hole. Next, the two gaskets on the floor are to cover the gaps in the trunk and body in the gas door where the neck passes through those. They are special, steel with rubber over it, formed gaskets. Then the two straps are pictured, as they sit on the assembled tank, with hooks forward. The top and rear of the tank is covered with a thick black felt impregnated with a tarlike preservative. It is pictured just left of the tank.
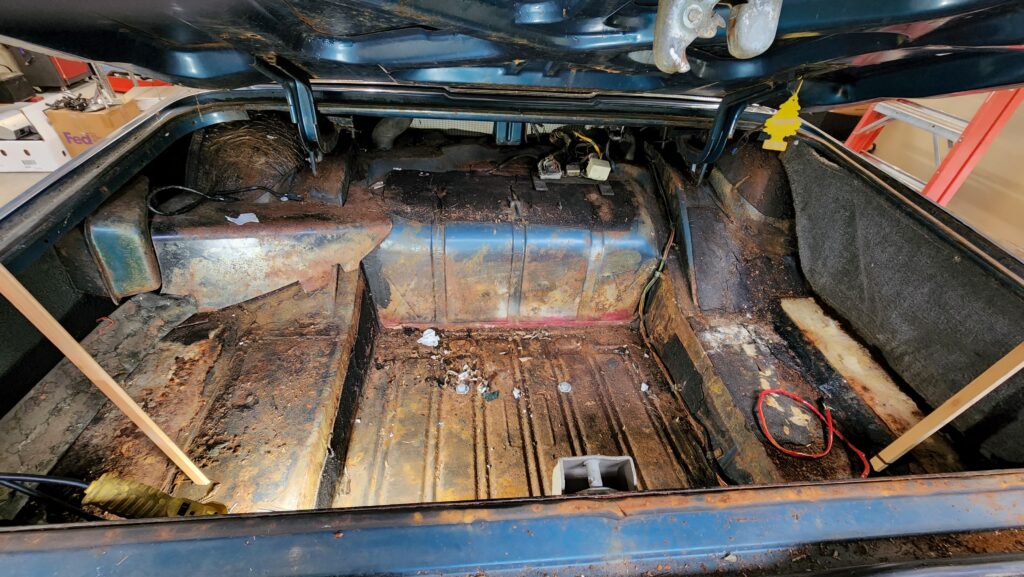
The trunk and tank. See where the filler neck goes in the trunk?
Here you can better see the trunk’s shape for the tank and the holes for the filler neck’s route to the tank.
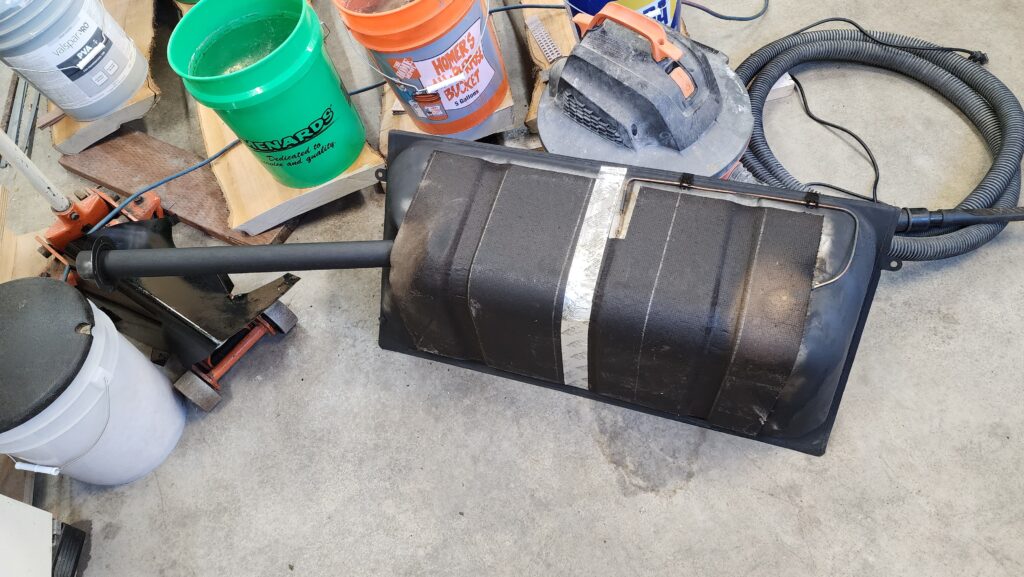
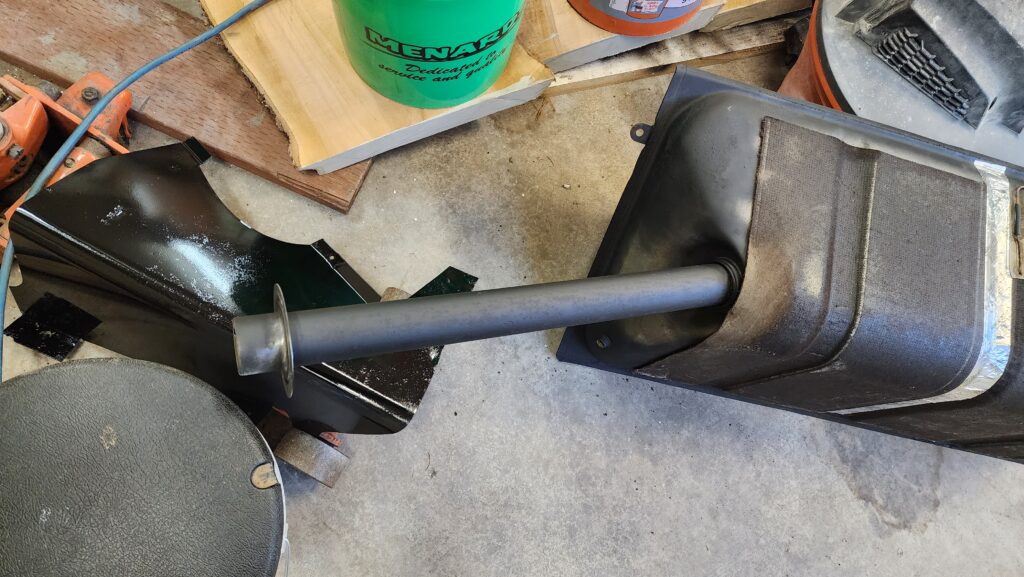
Cleaned up and rust reformed here is the assembled filler neck, felt and brass expansion tube. Use foil backed HVAC tape to secure the felt to the tank, it lasts much longer.
After restoring the tank, neck and neck shield.
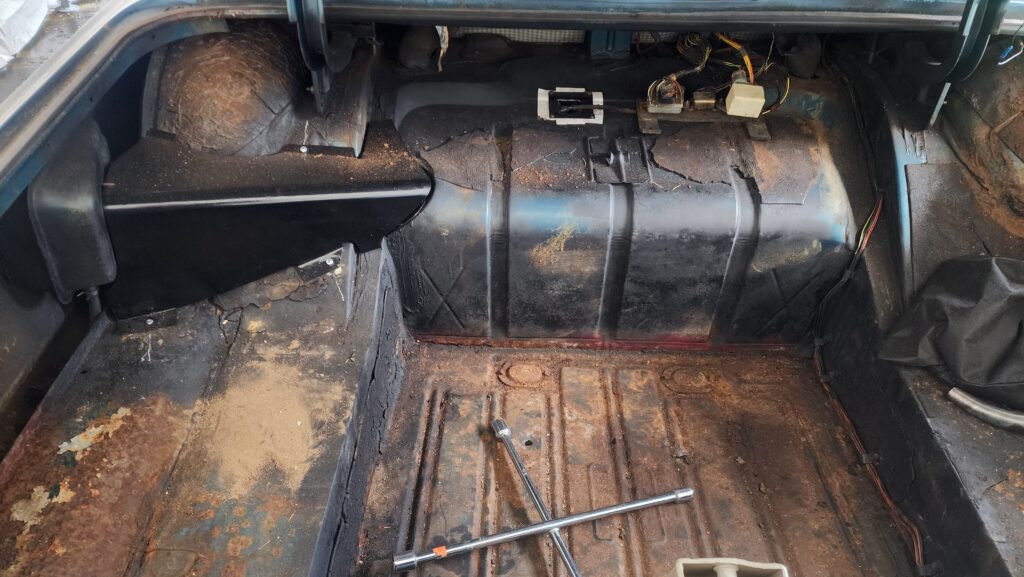
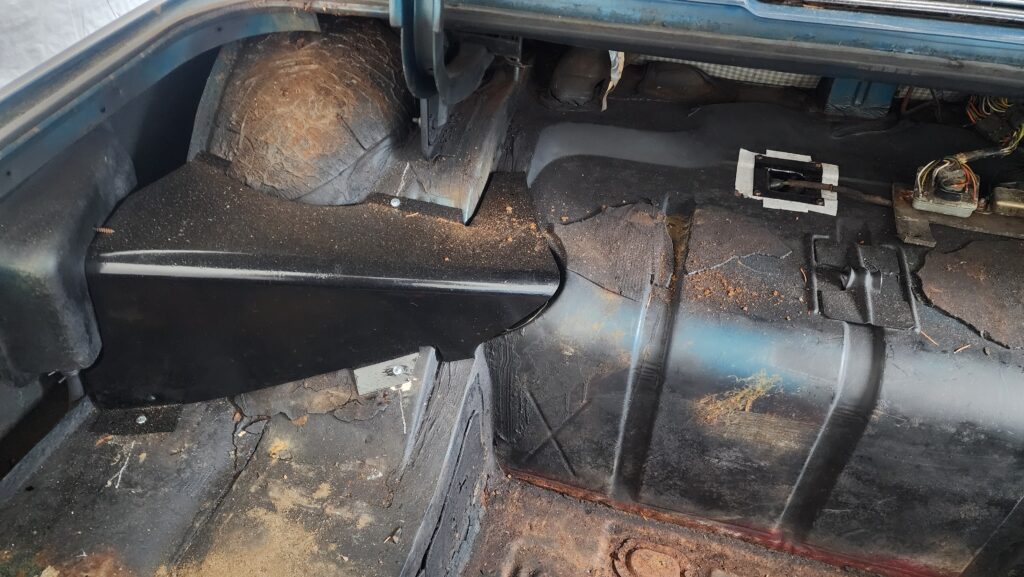
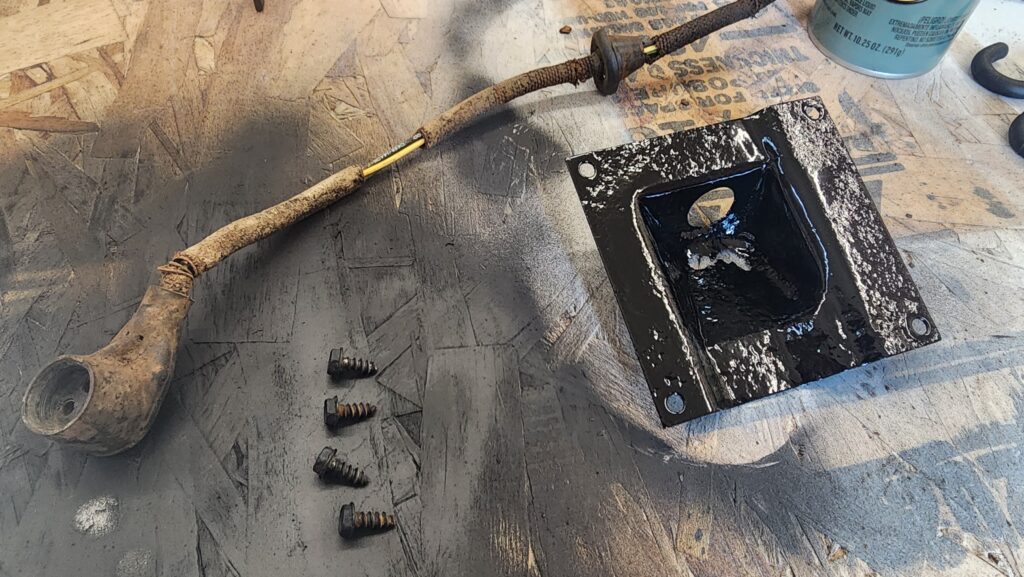
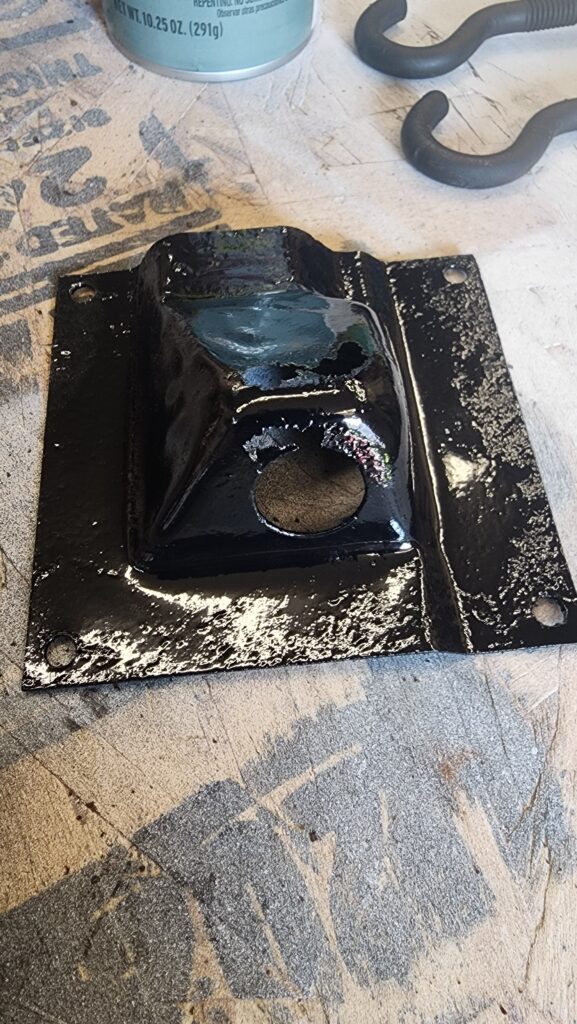
Inside the trunk is a shield to protect the filler neck pictured here under the neck.
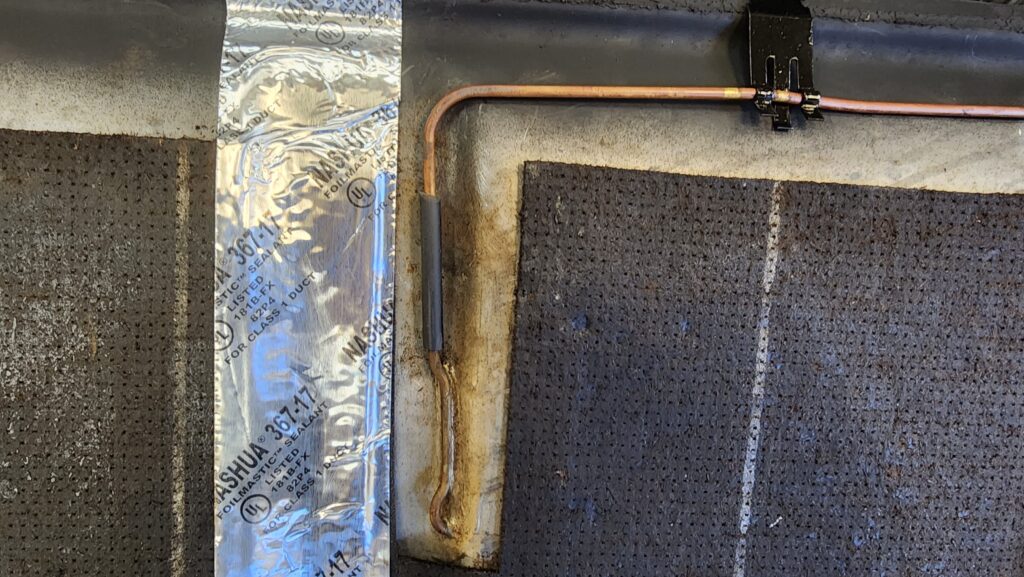
Copper vent tube attached with new rubber hose. Felt damping attached with foil backed thermal tape for longevity.
The original rubber for the tube junctions were hard and broken. The brazed tubing joint into the tank was good still. Clips for the tubing were blasted and painted.
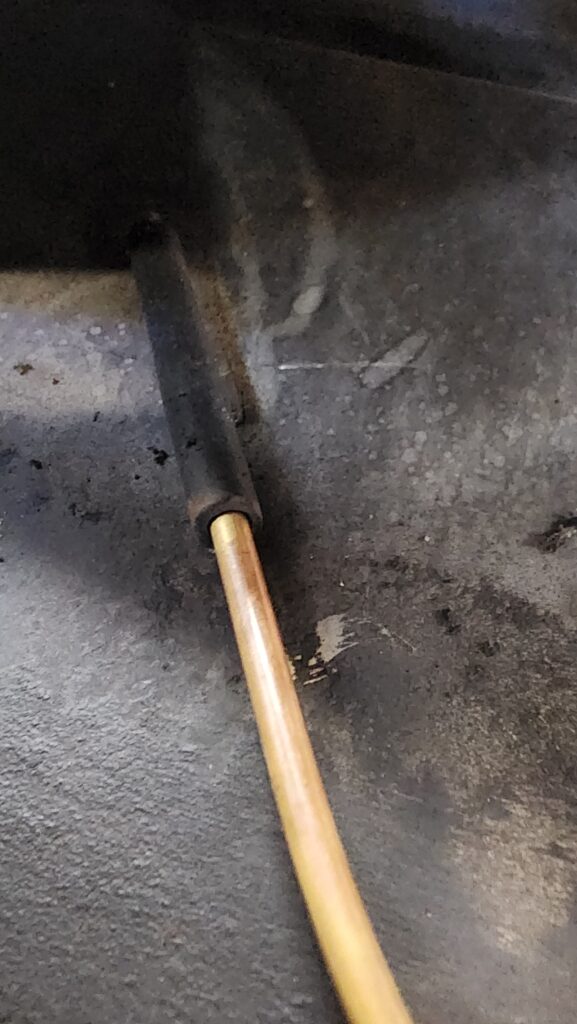
End of vent tube before covering with felt.
It just ends under the felt. There are stains from the vapors washing the preservative out of the felt and on the tank here. The tubing was cleaned and restored to shape also.
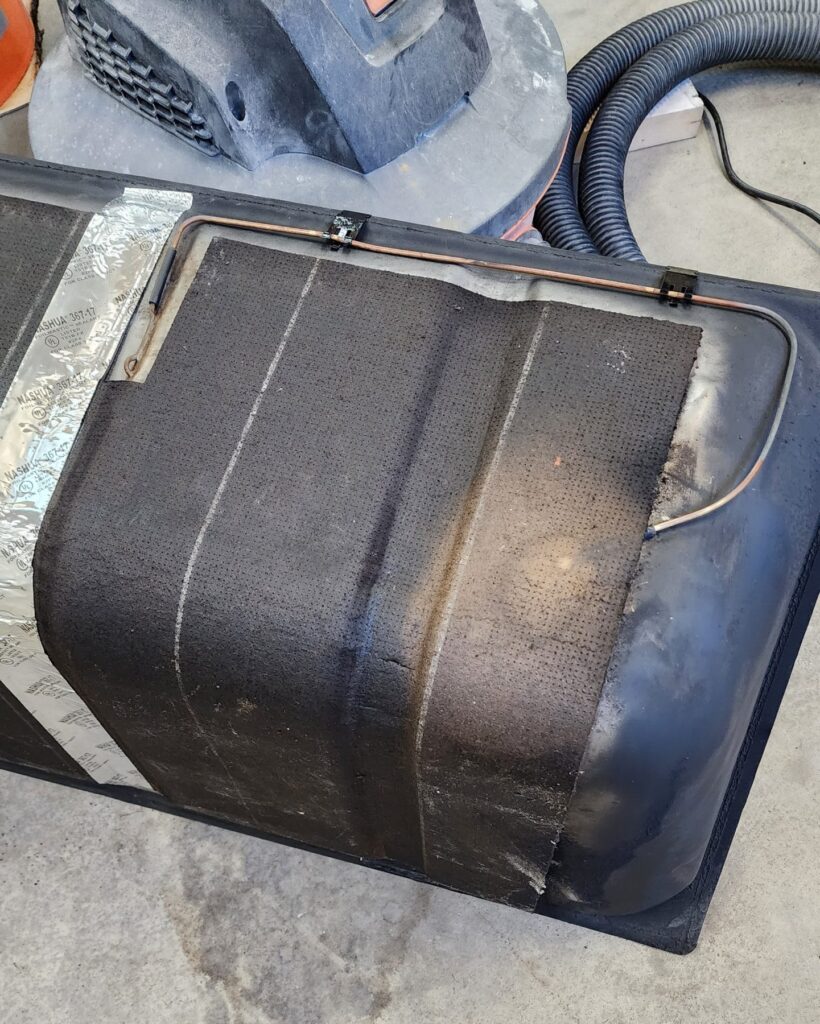
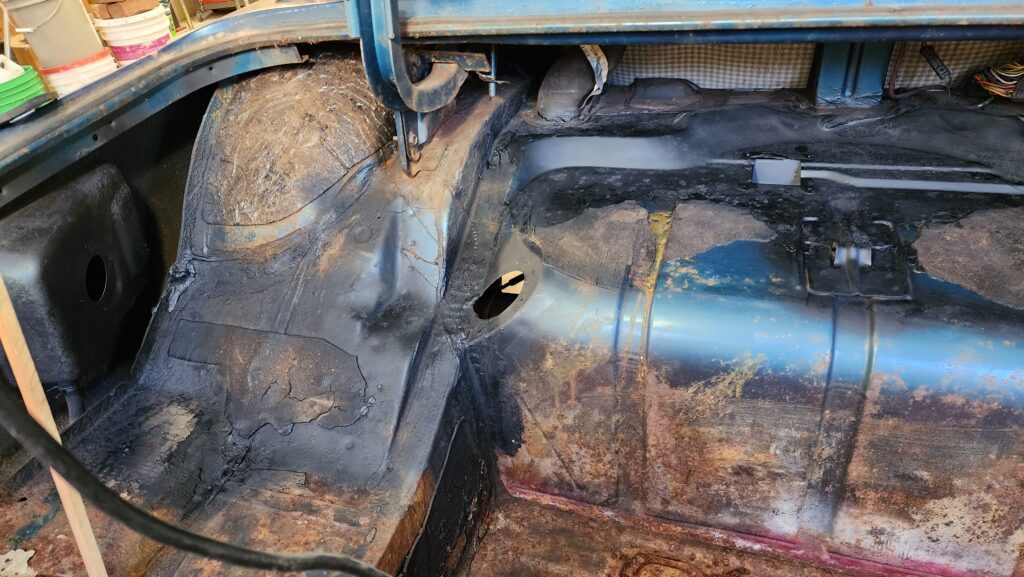
Factory copper vent tube routing.Surface rust restoration. Fuel tank level indicator wiring trough restored (the groove above the tank area going L to R). Water had entered this trunk from the large rubber drain tubes under the back window air vents.
Much of the trunk’s sound damping was removed here and rust reformer was applied after cleaning with a stiff wire brush on a power tool (in the right of the photo). The main concerns were the “fuel tank level indicator” wire routing, metal insert above the tank (which goes in the square bowl at the end of the wiring groove) and the filler neck areas
Filler neck shield area restored.
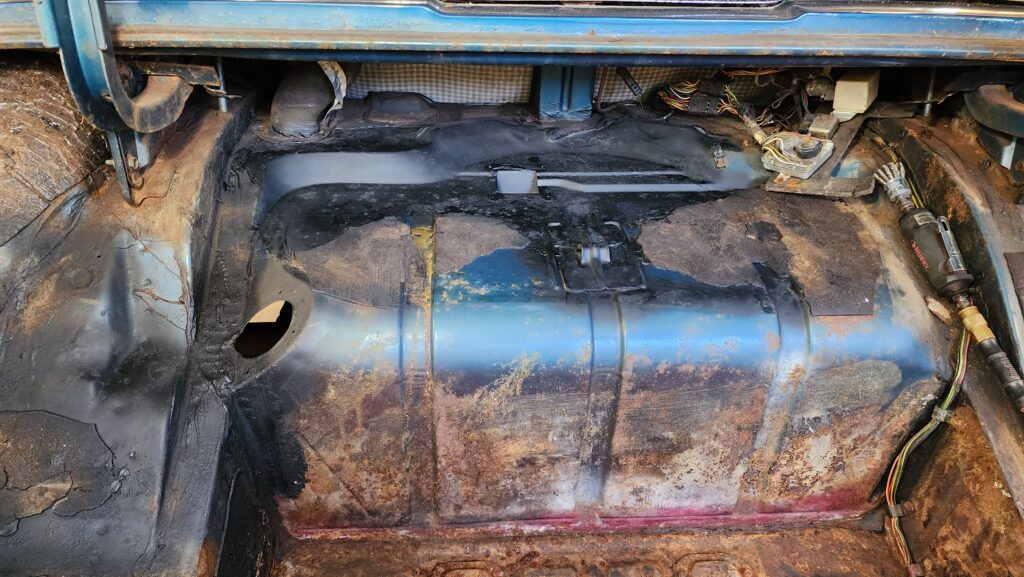
There was a lot of surface rust. One day it will all be blue again (midnight turquoise) and covered in the houndstooth material seen on the back seat here.
The reassembly was easy enough done alone. Using a floor jack and some pre assembly of the straps in place, the tank went up and in place with little drama. The tank level indicator was also replaced on this project and was more of a hassle than the tank removal or replacement. Better to do that job with the tank out of the car if you can! (I did). The filler neck needed grease on the sealing O-ring in the tank to be reassembled. I used a lithium grease. The special formed gaskets for the body were reshaped and reused after applying rust reformer. The neck shield was reattached using new screws as some of the old ones had to be cut flush. All said and done this is a good long weekend project if you want to tackle it yourself. Simple tools and no help needed. You can do this.
Before disassembly.Reassembled.Closer view of the shield and indicator wiring insert now reassembled. I added a special (white) water sealing tape under the metal insert. It will be trimmed off at a later date.Fuel tank level indicator harness and metal trunk insertUnderside of metal insert preserved. hooks are also seen preserved here.