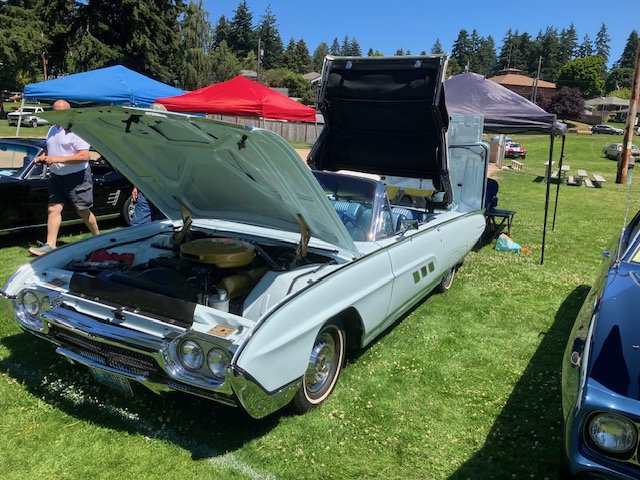
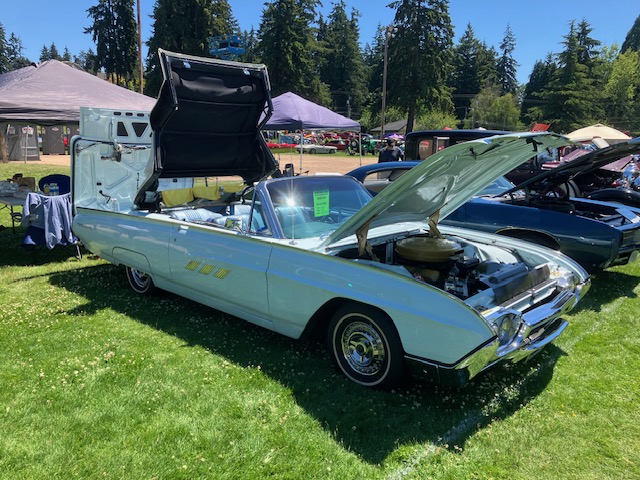
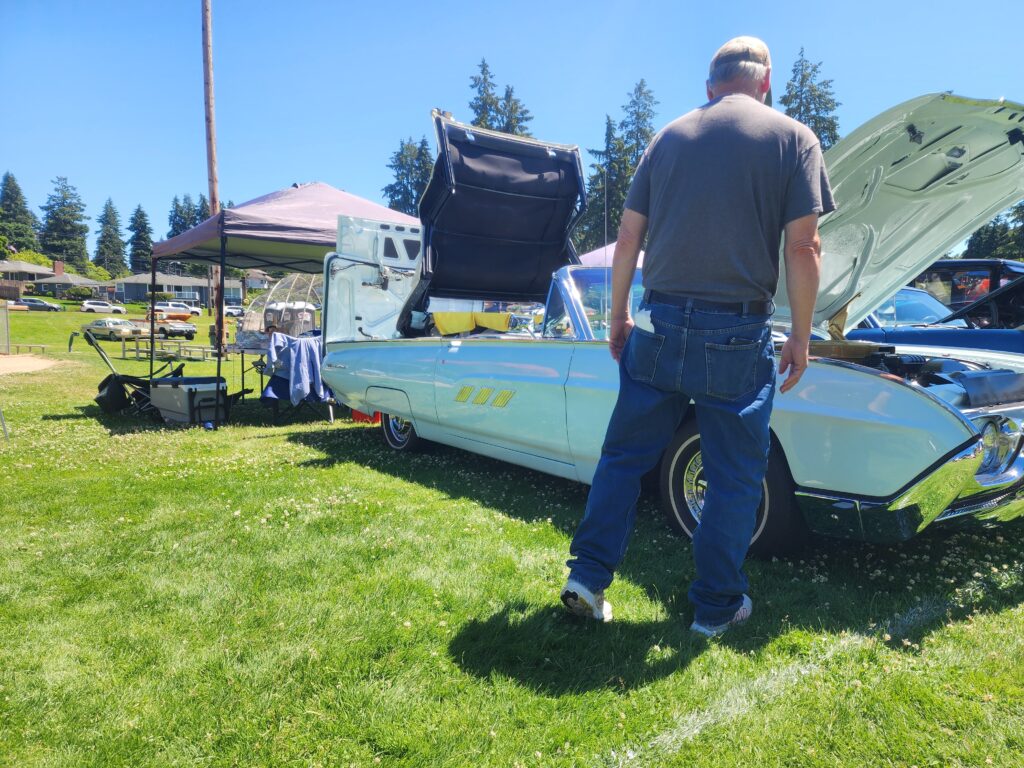
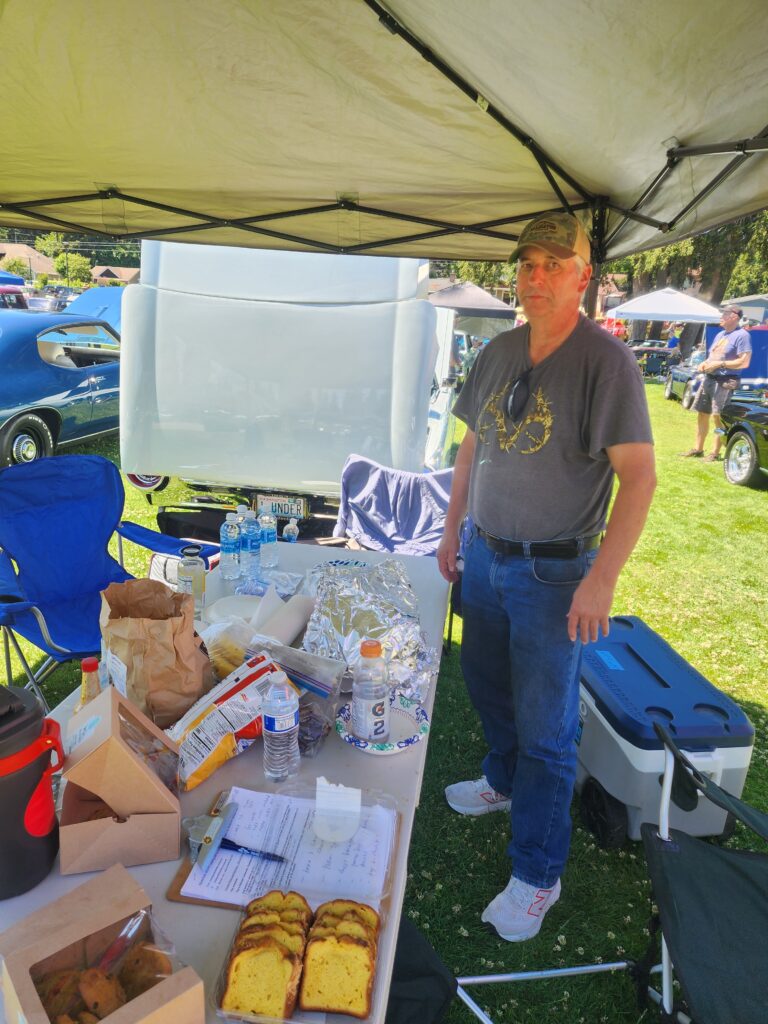
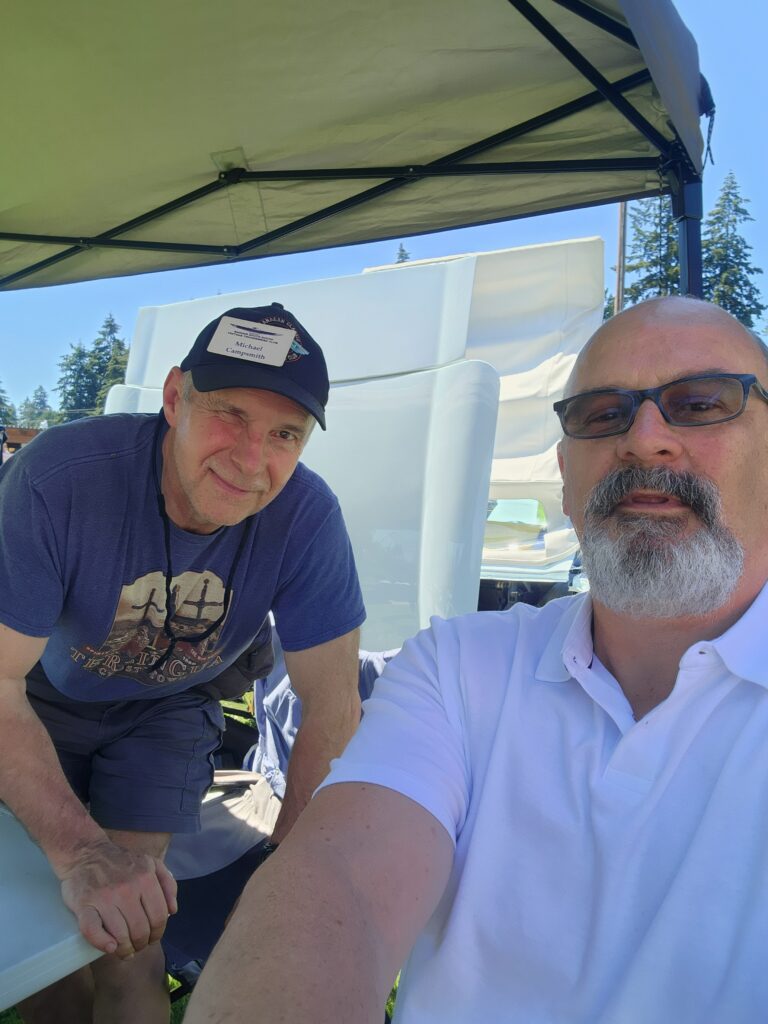
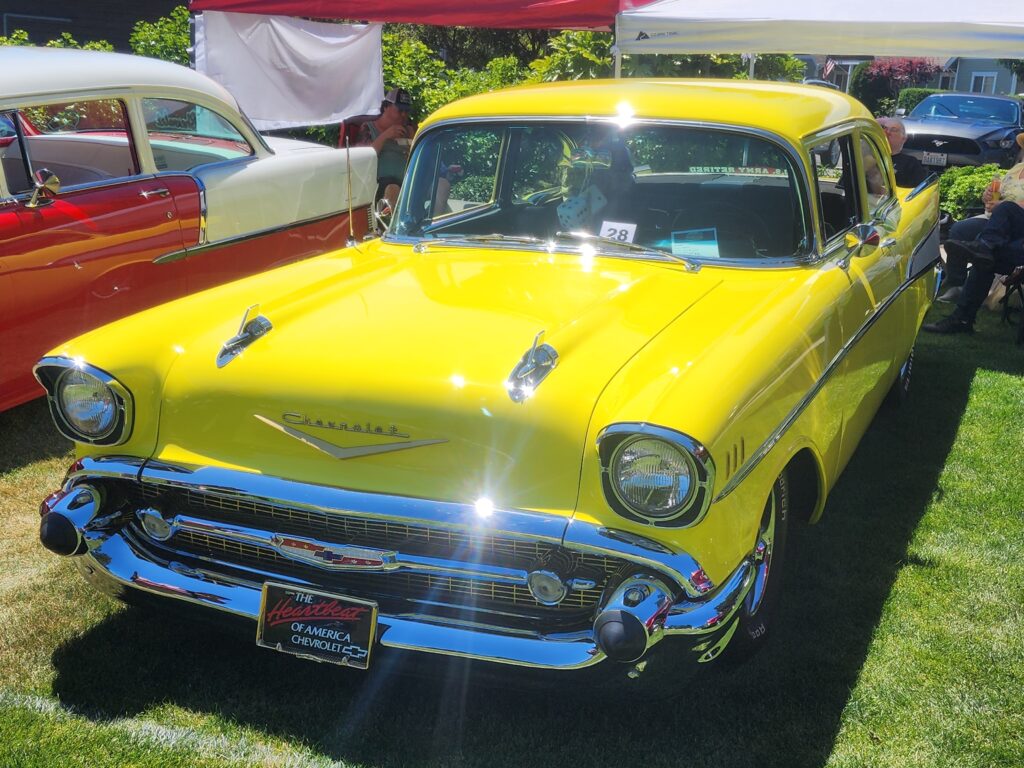
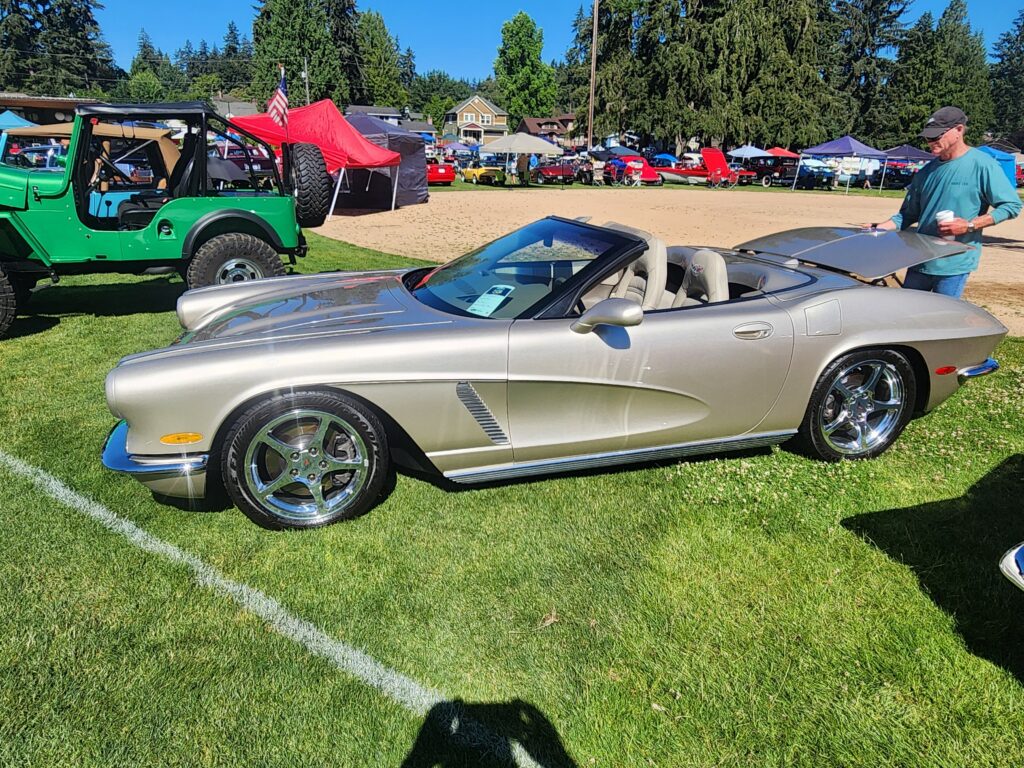
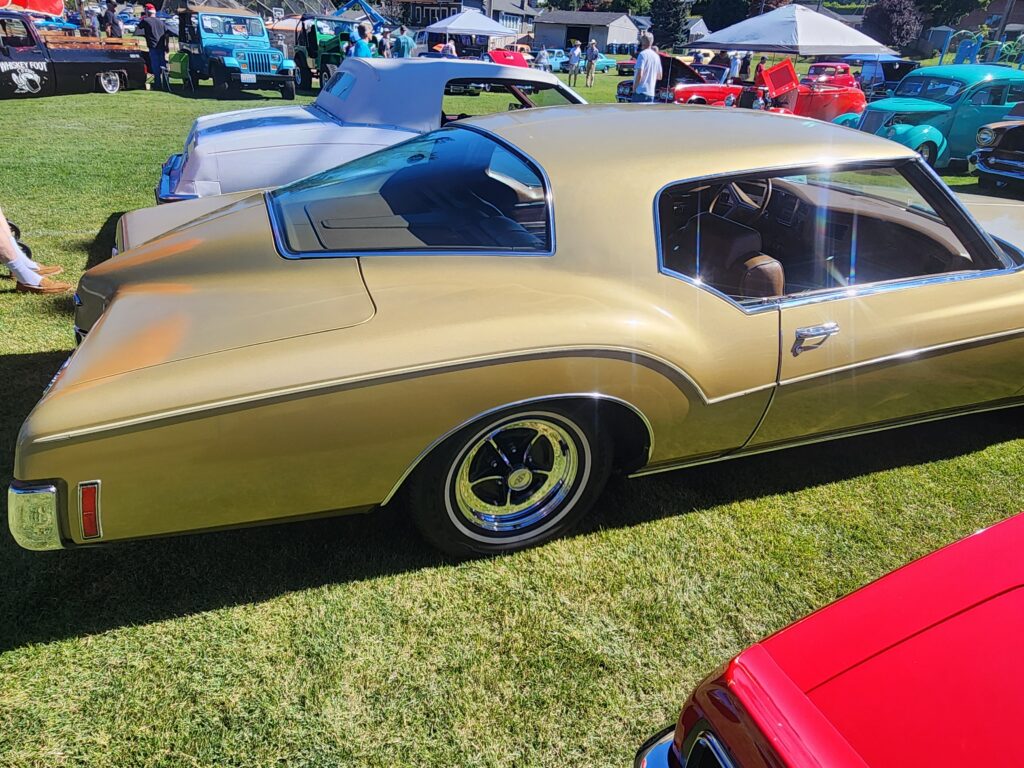
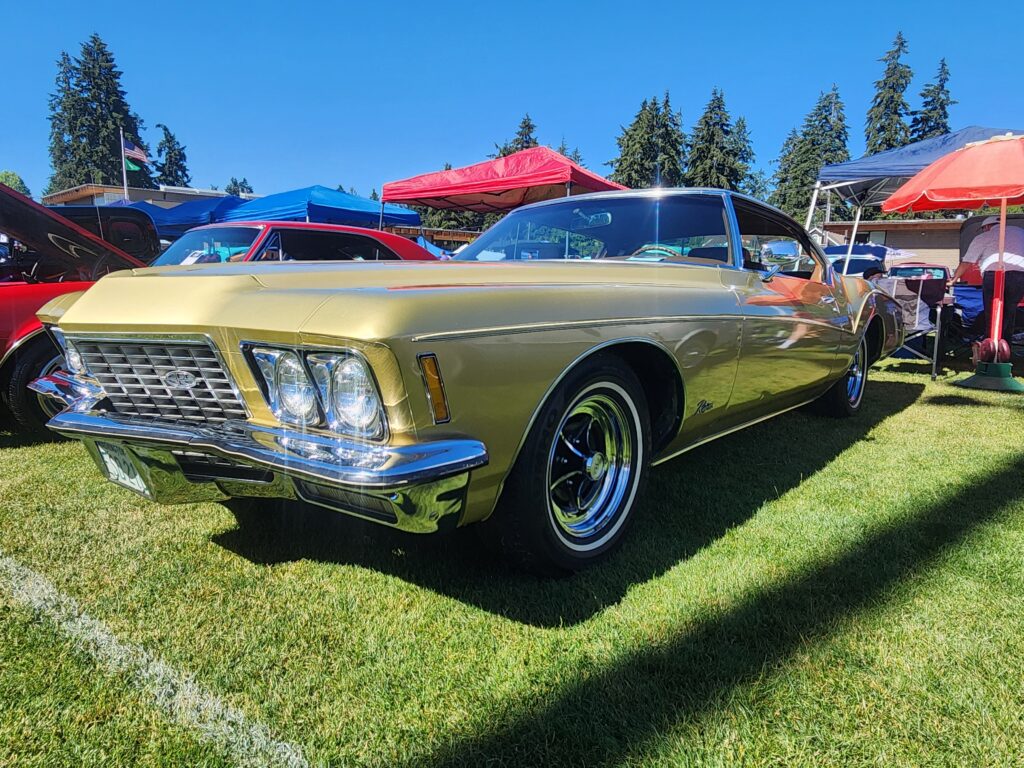
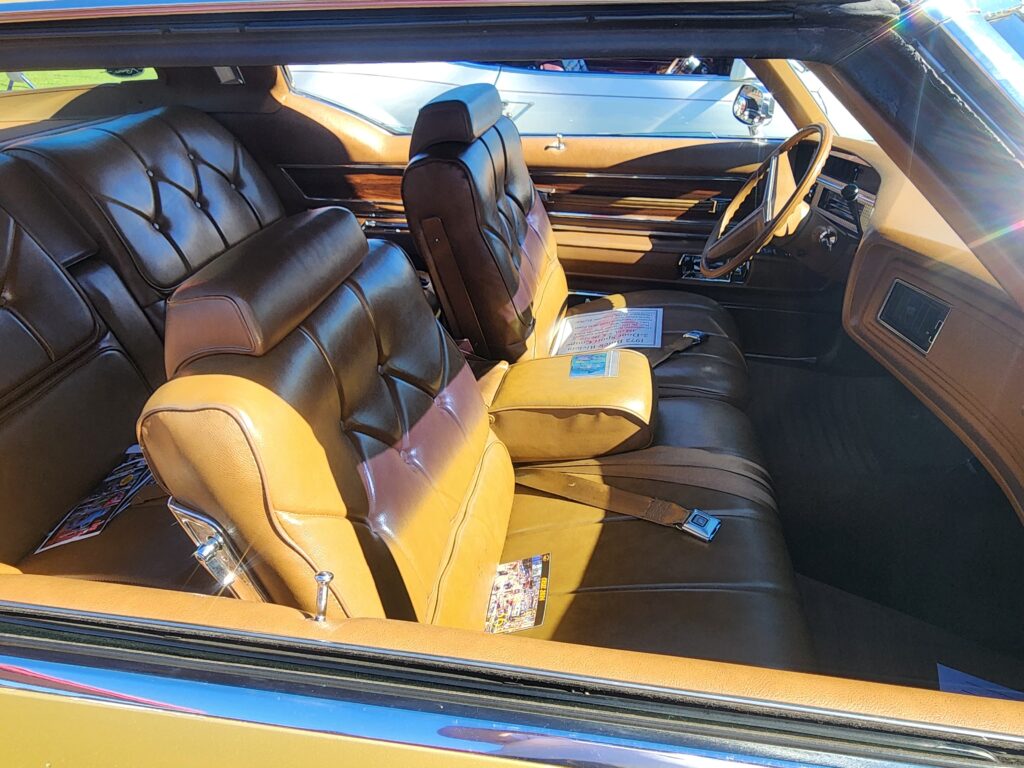
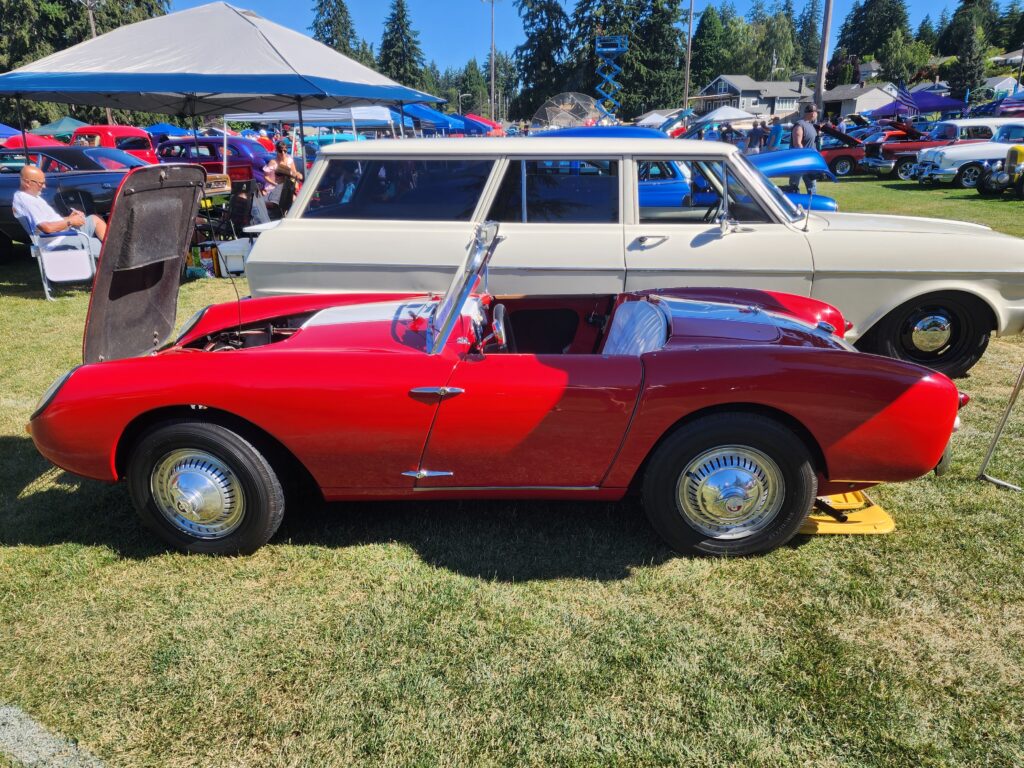
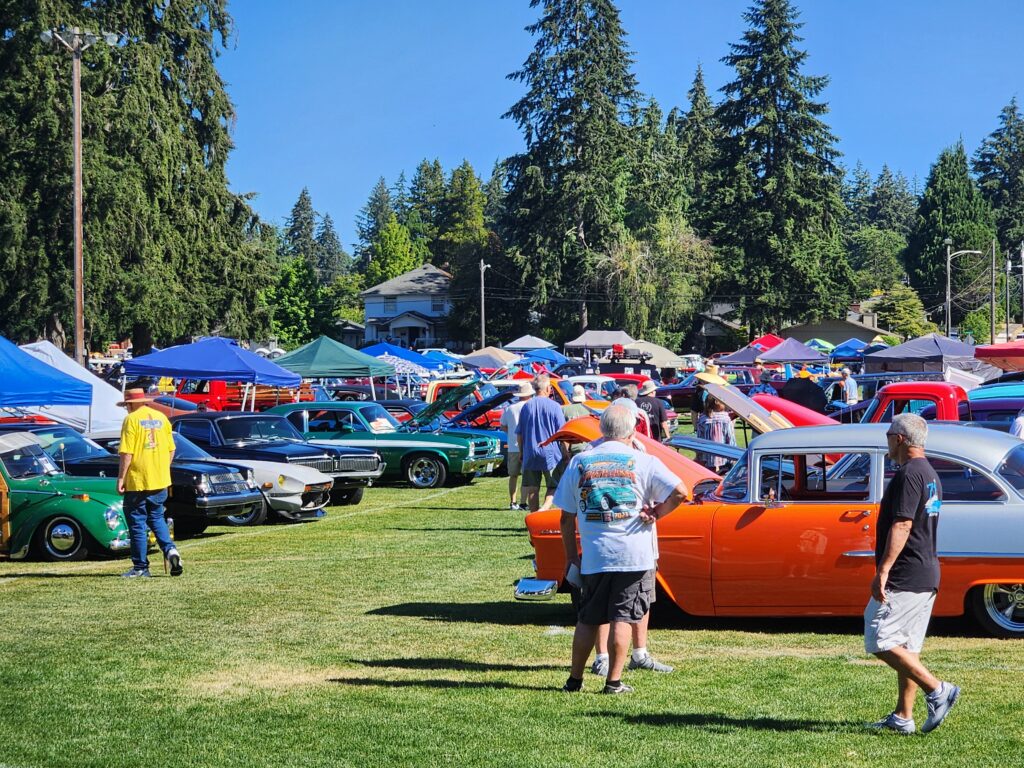
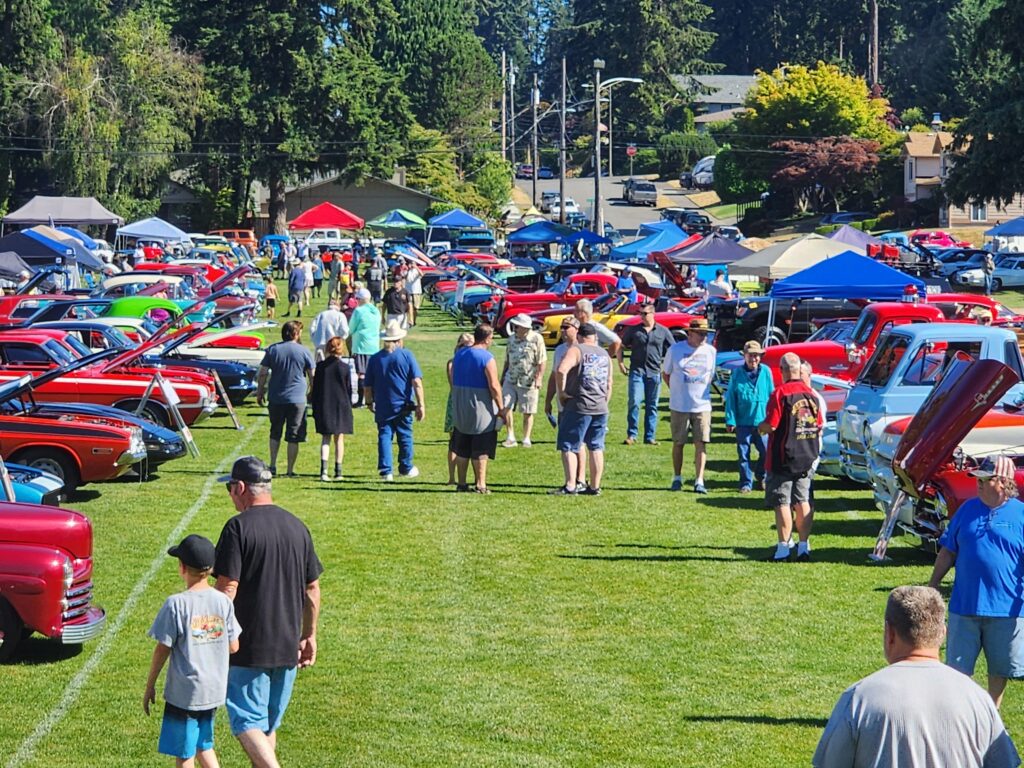
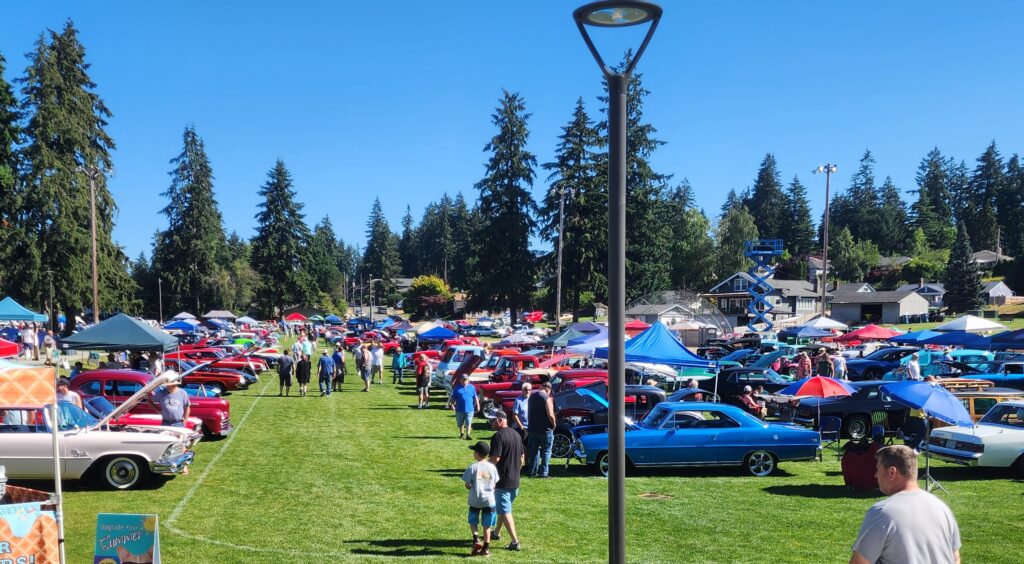
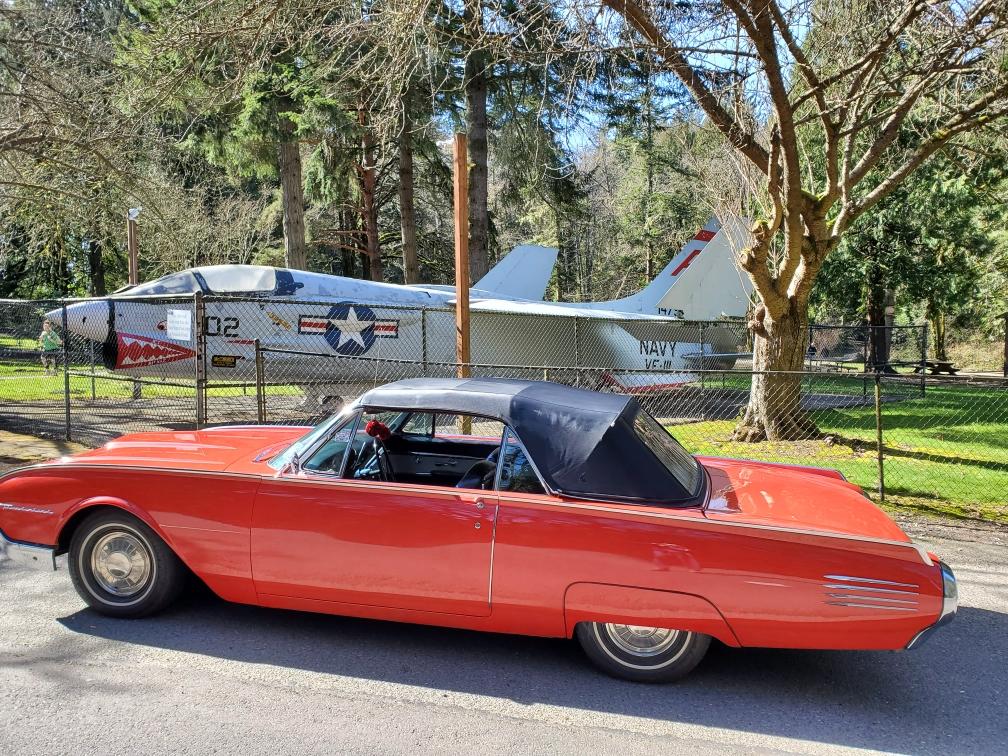
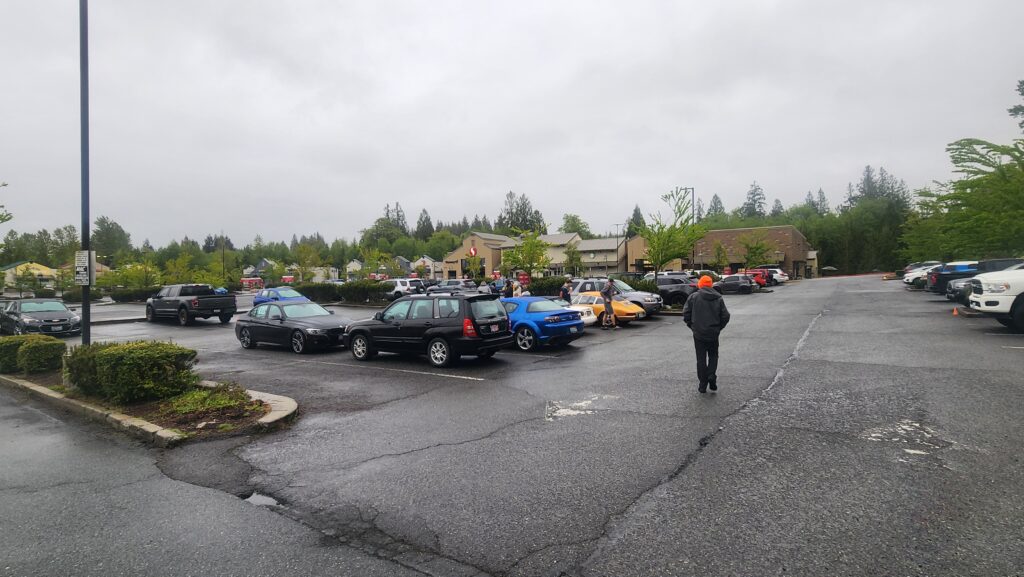
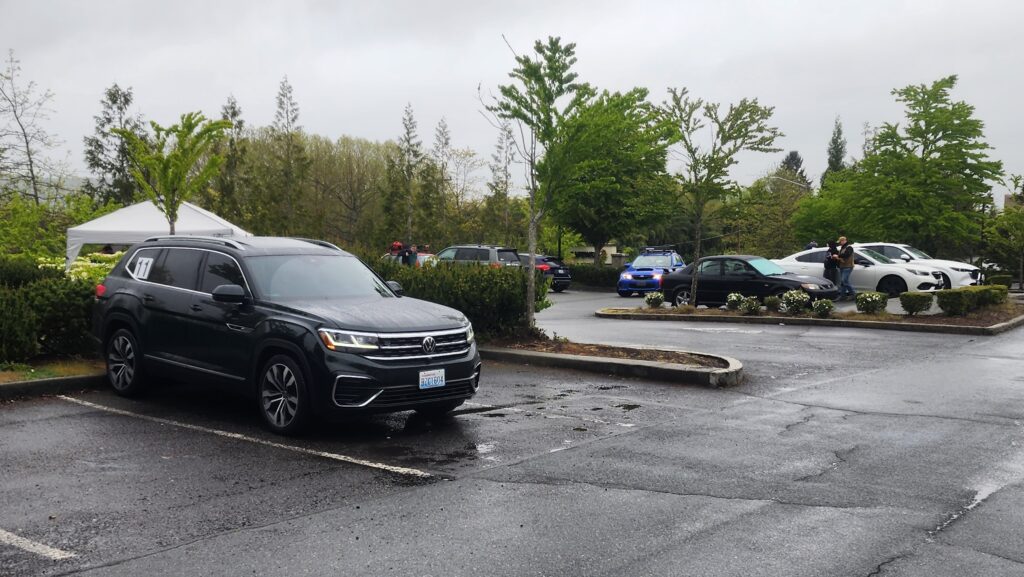
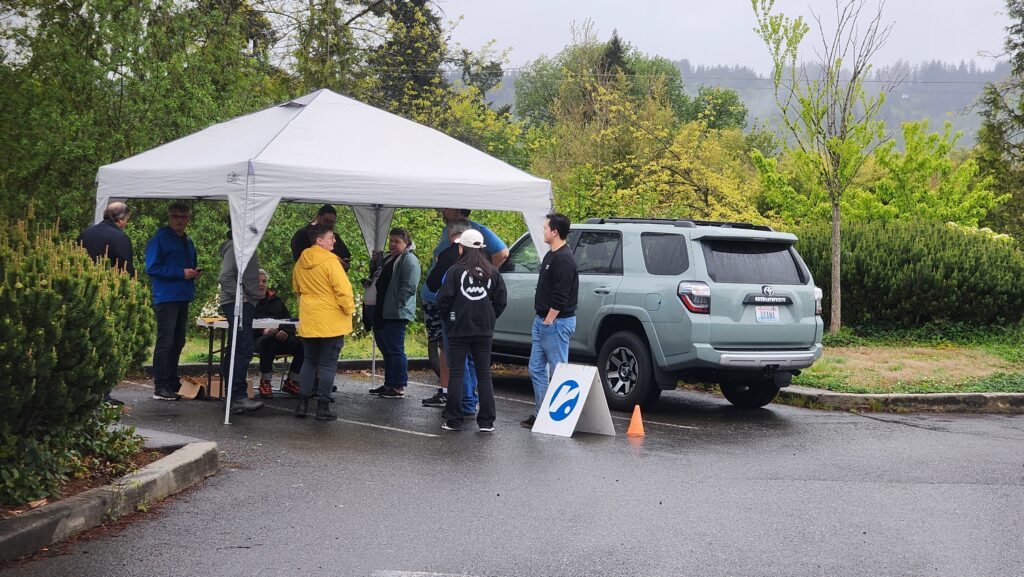
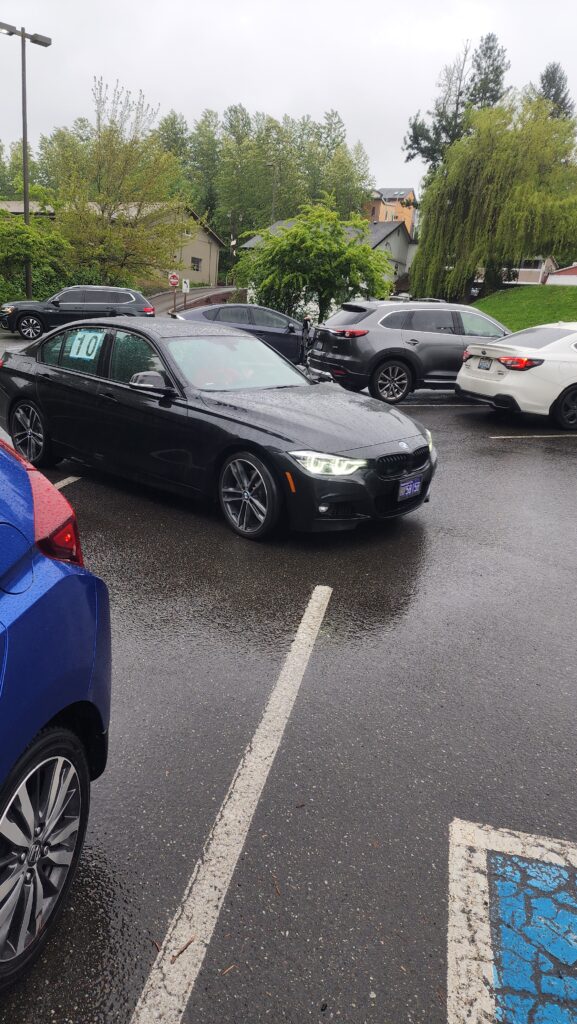
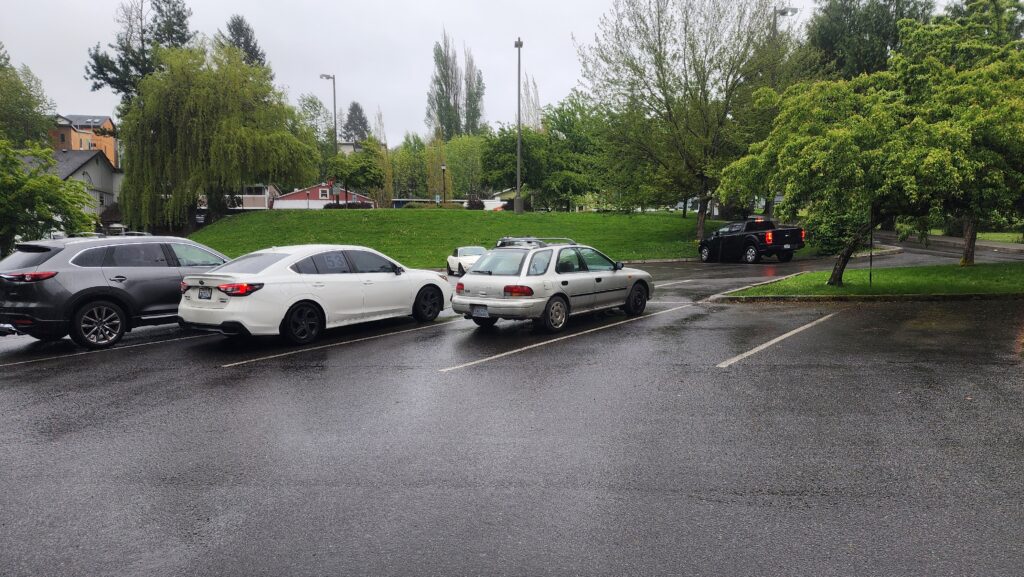
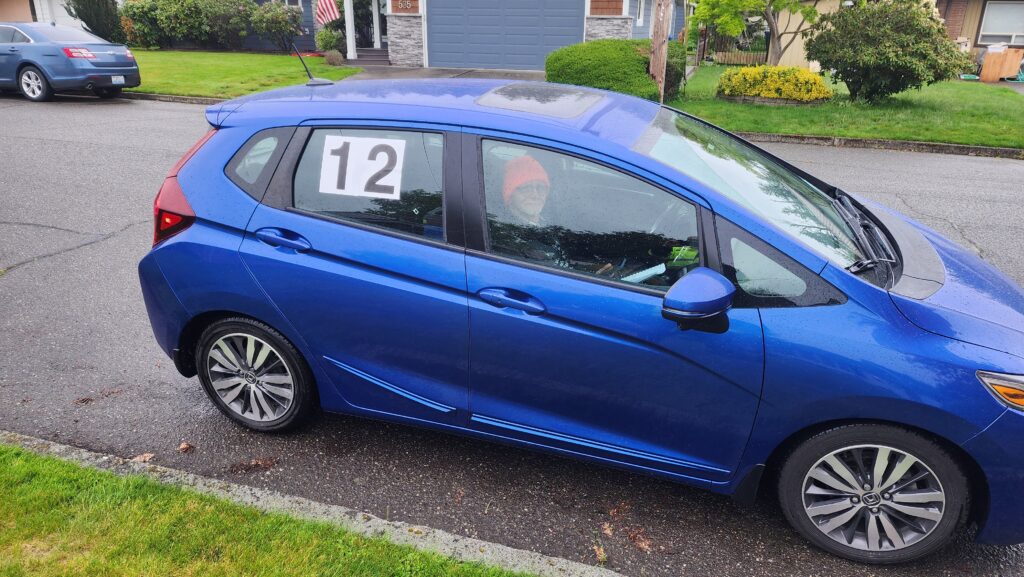
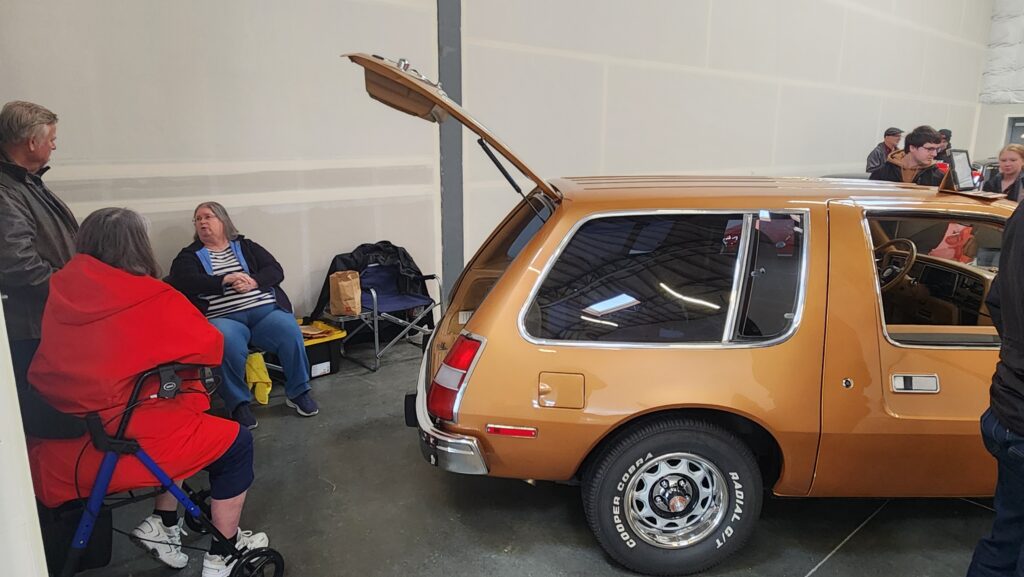
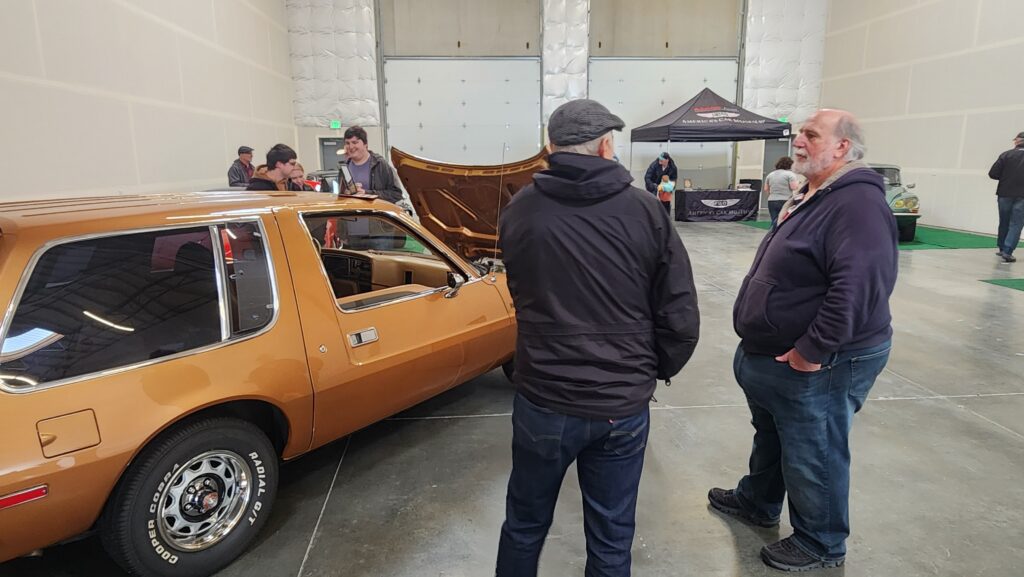
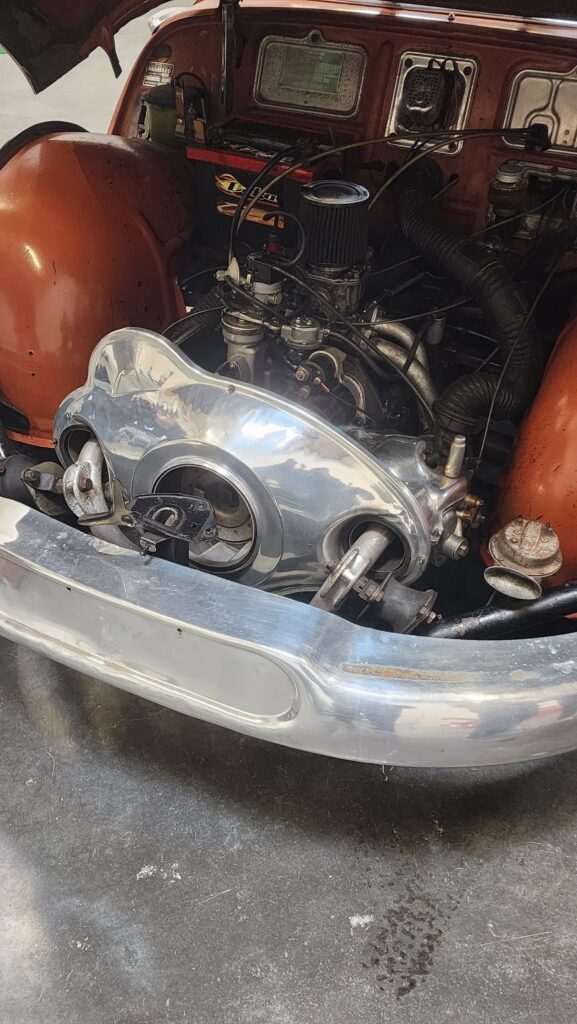
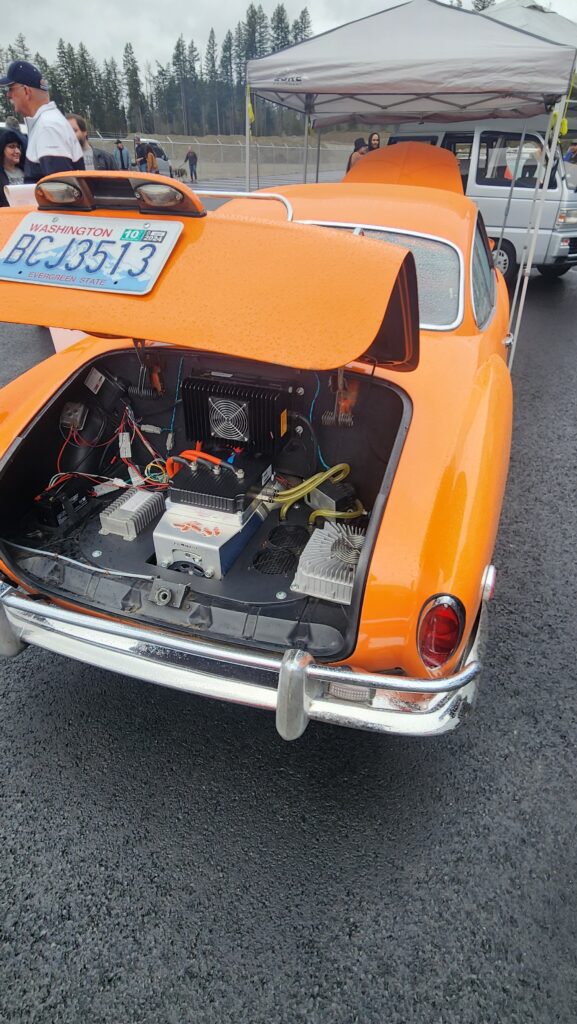
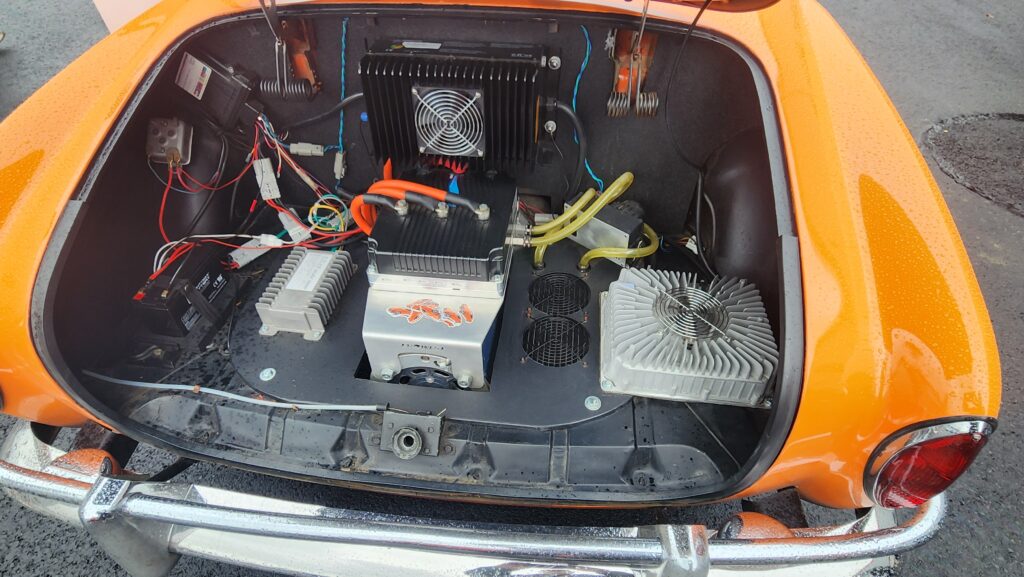
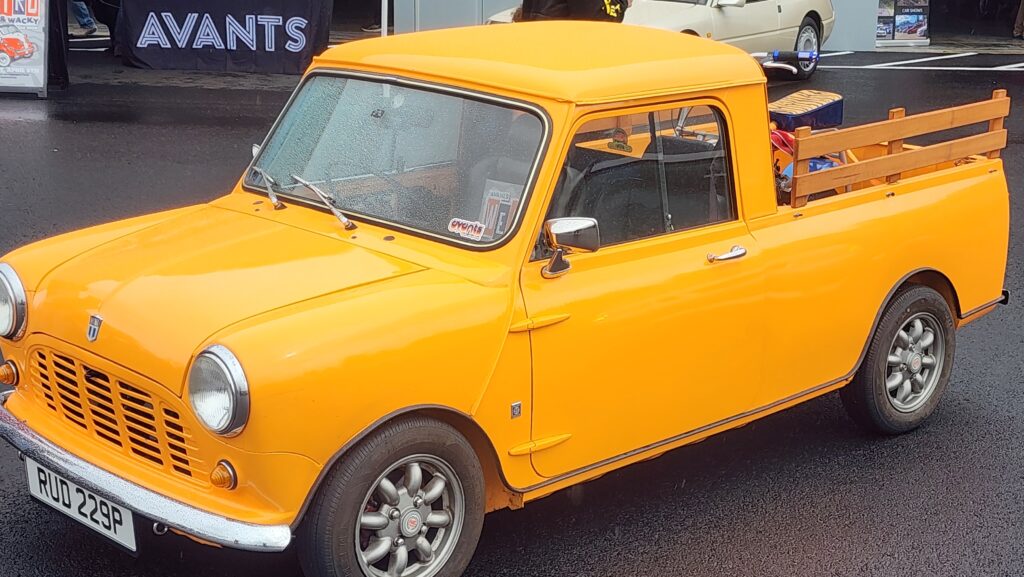
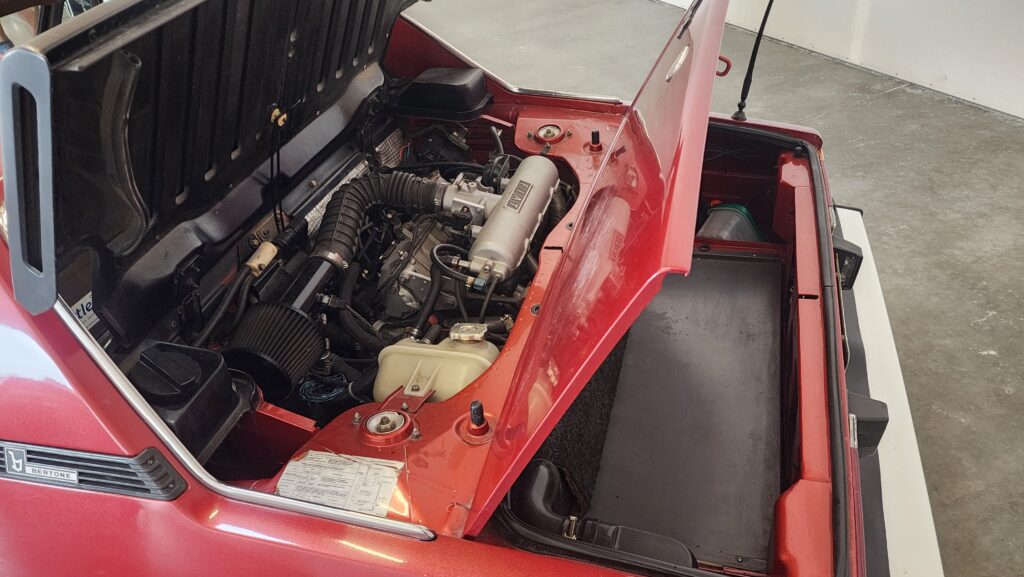
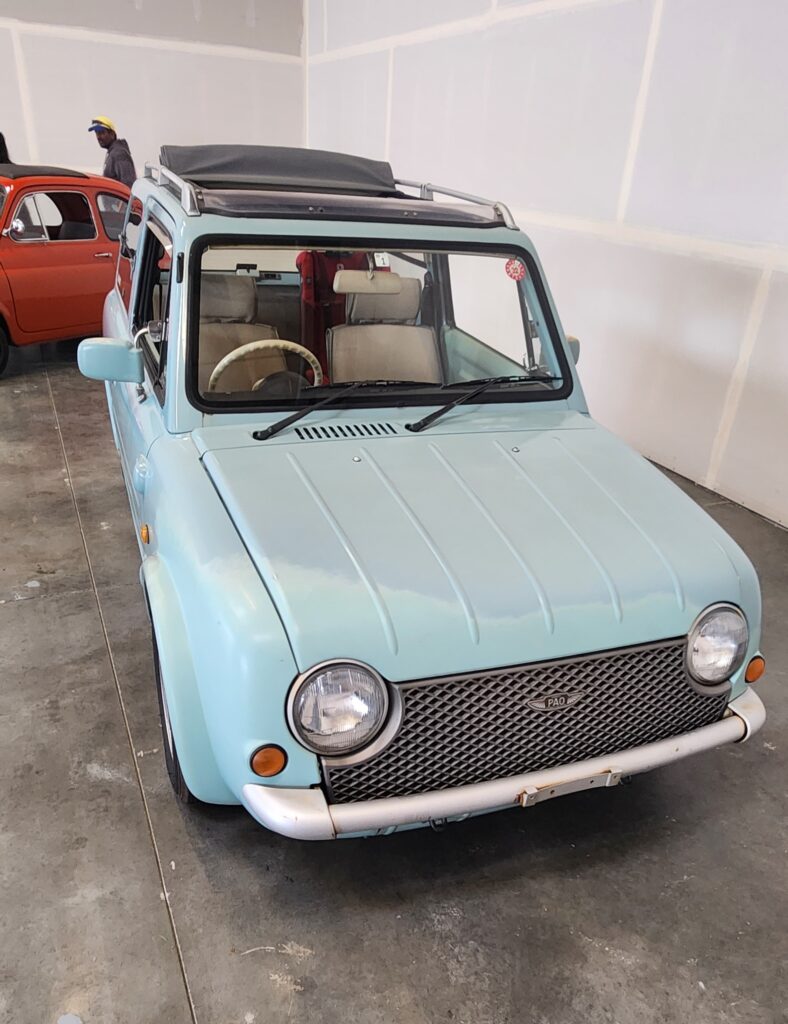
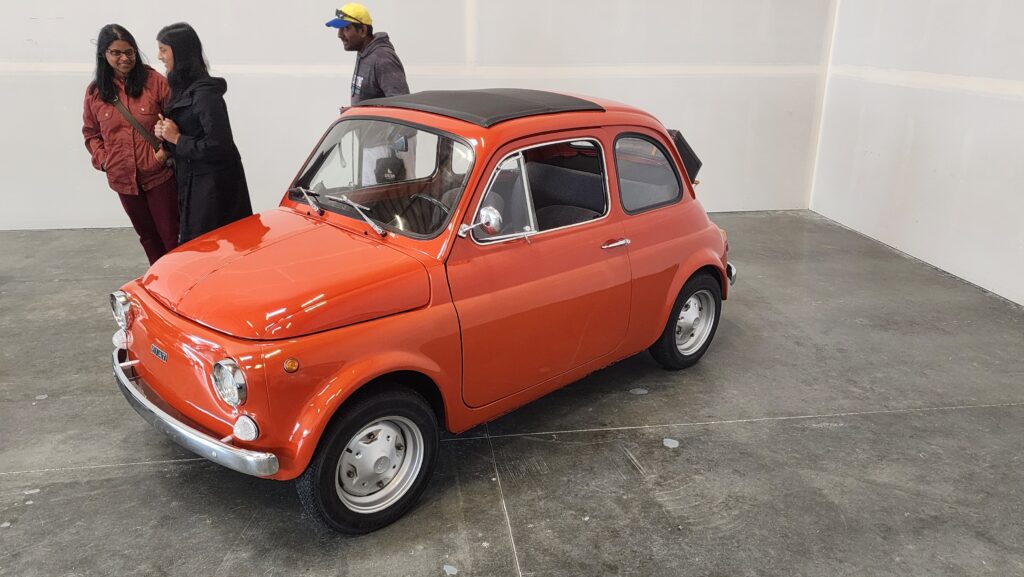
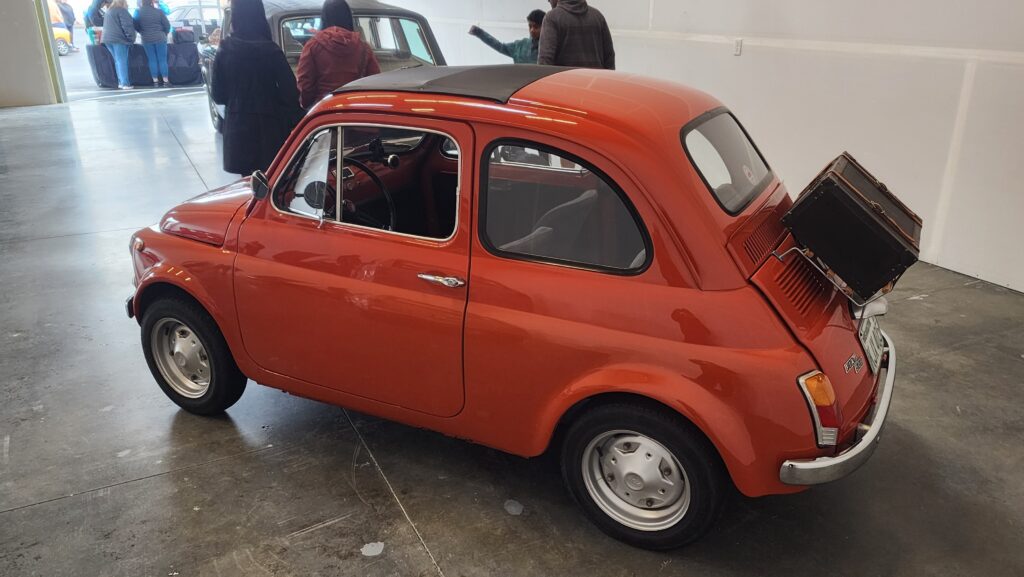
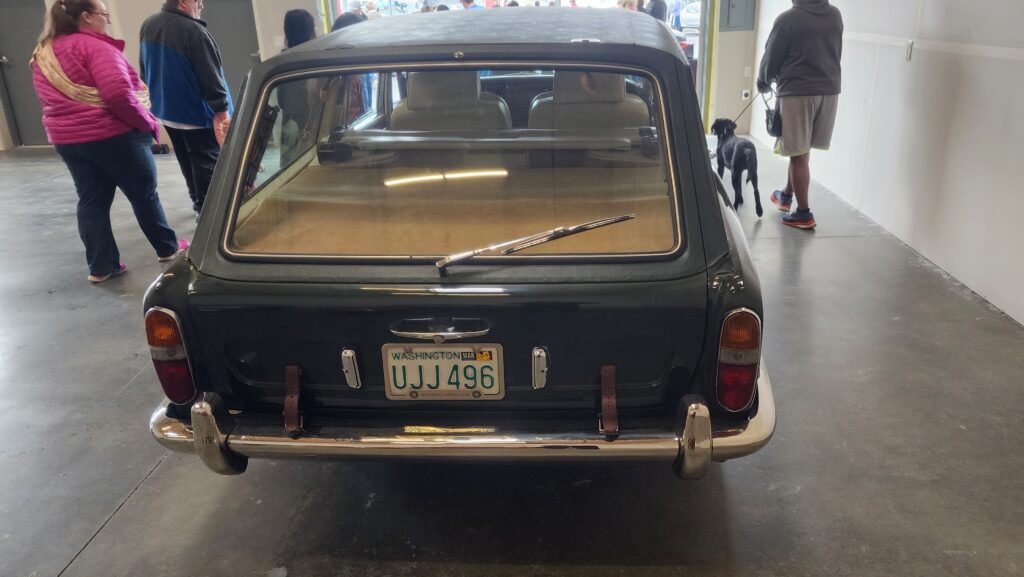
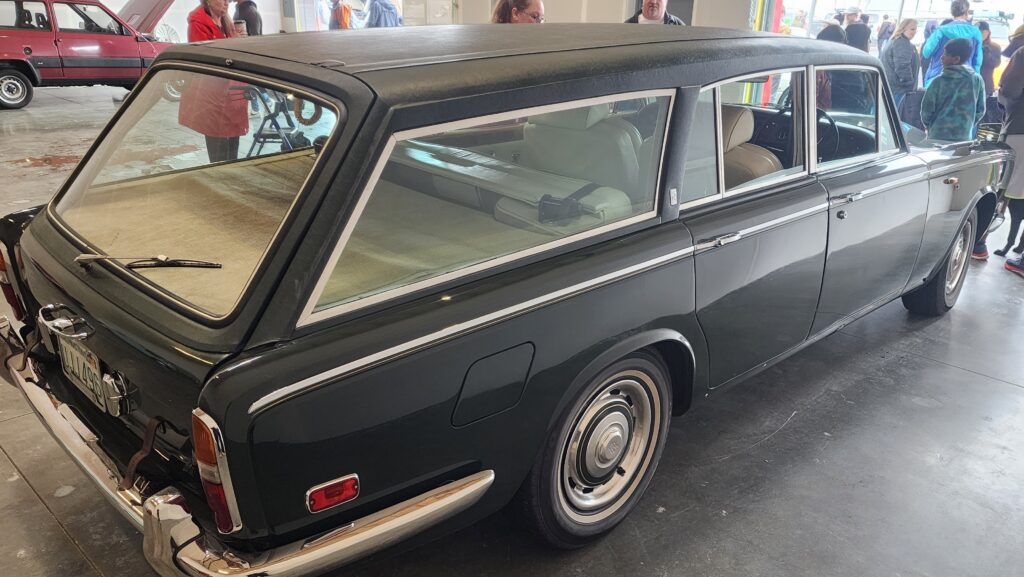
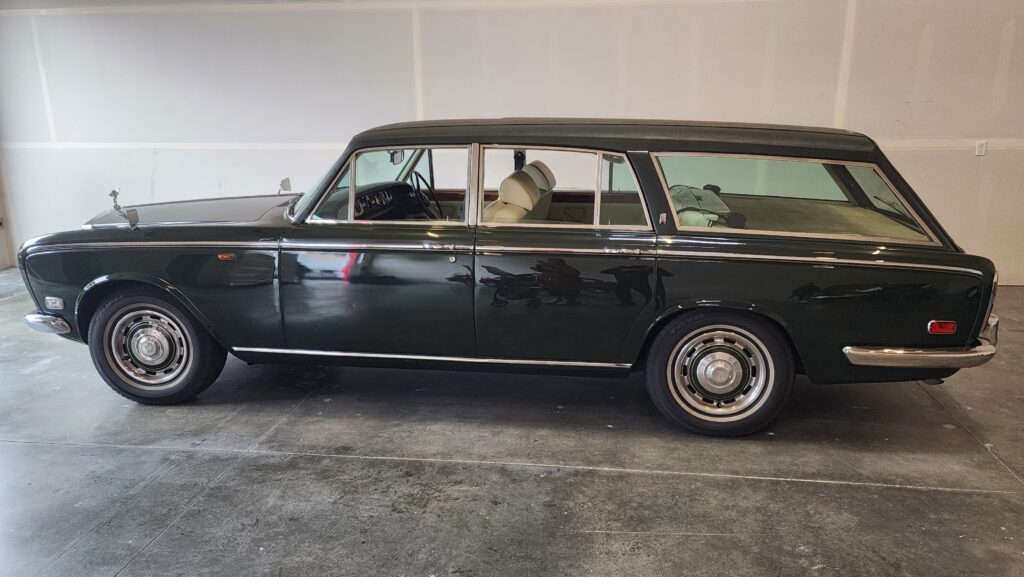
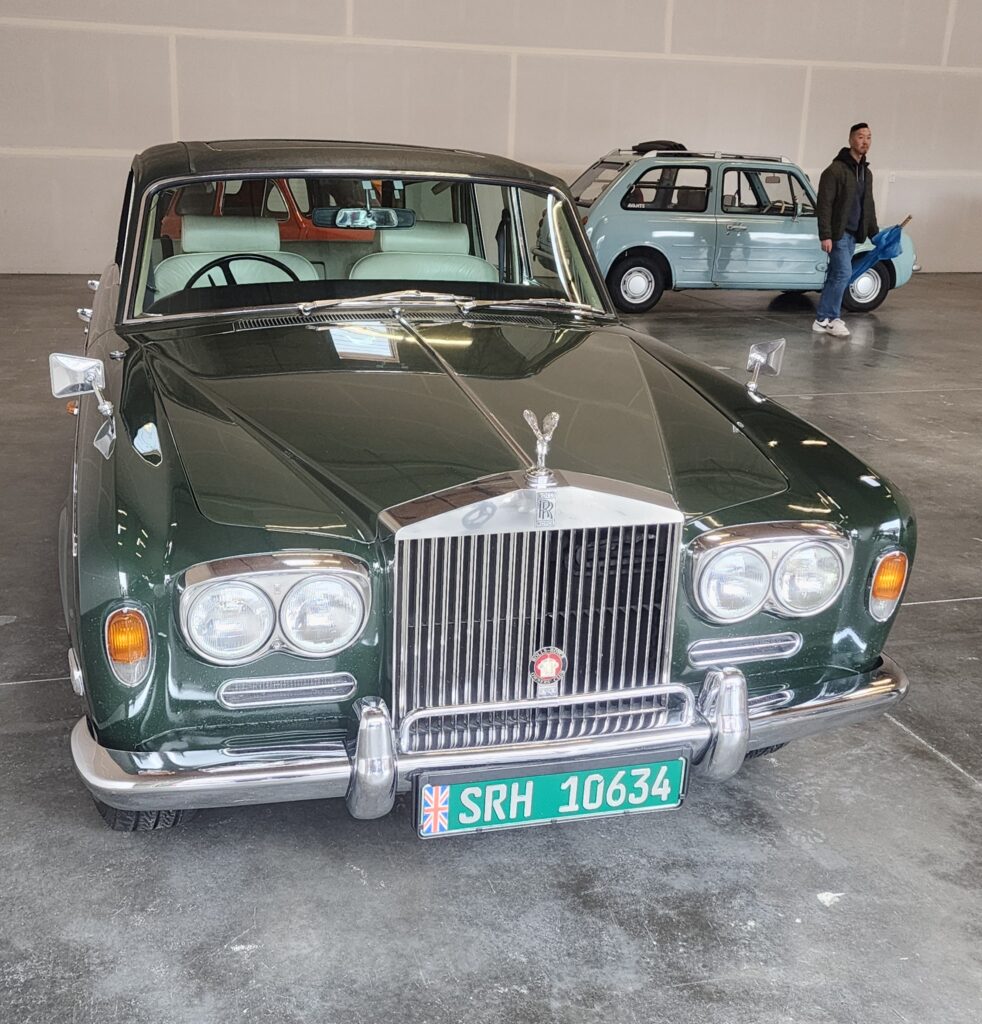
Author Archives: Tim Crawford
NW Car Events Calendar
An all inclusive calendar for car events including swap meets cruise-ins and shows in the GNW!
Narrows Airport Museum
Plane Museum @ Tacoma Narrows Airport
We can all meet here to attend the museum or have a meal. It is a short drive from Tacoma, just over the bridge take the first exit. This is a unique venue for any event also.
Remove and replace a ’64-’66 fuel tank on your vintage T-Bird
In this image you can see the tank positioned, as it sits in the car, on the floor next to the car with a trail of debris from sliding the tank on the floor out from under the car. This is a 1965 Thunderbird Coupe. I used four jack stands, to hold both the rear axle up and the body, for enough clearance to remove the tank once detached and lowered. The rubber fuel line is detached from the sending unit under the car with a hose clamp. The filler neck assembly is then taken apart and removed by sliding the neck out of the gas door. The tank mounting straps are then loosened by way of nuts on the lower end of the hooks when tank is empty. In front of the tank on the floor here is the filler neck. It is a vented neck using an outer tube from high inside the tank up to the gas door area where you can see a large flange at one end of the neck. The hole at the top of the tank is where the filler neck slides into the tank and is sealed by a thick O-ring in a groove in that hole. Next, the two gaskets on the floor are to cover the gaps in the trunk and body in the gas door. They are special, steel with rubber over it, formed gaskets. Then the two straps are pictured, as they sit on the assembled tank, with hooks forward. The top and rear of the tank is covered with a thick black felt impregnated with a tarlike preservative. It is pictured just left of the tank.
Here you can better see the trunk’s shape for the tank and the holes for the filler neck’s route to the tank.
Cleaned up and rust reformed here is the assembled filler neck, felt and brass expansion tube. Use foil backed HVAC tape to secure the felt to the tank, it lasts much longer.
Inside the trunk is a shield to protect the filler neck pictured here under the neck.
The original rubber for the tube junctions were hard and broken. The brazed tubing joint into the tank was good still. Clips for the tubing were blasted and painted.
It just ends under the felt. There are stains from the vapors washing the preservative out of the felt and on the tank here. The tubing was cleaned and restored to shape also.
Much of the trunk’s sound damping was removed here and rust reformer was applied after cleaning with a stiff wire brush on a power tool (pictured to the right). The main concerns were the fuel tank level indicator wire routing, metal insert above the tank and the filler neck areas
There was a lot of surface rust. One day it will all be blue again (midnight turquoise) and covered in the houndstooth material seen on the back seat here.
The reassembly was easy enough done alone. Using a floor jack and some pre assembly of the straps in place, the tank went up and in place with little drama. The tank level indicator was also replaced on this project and was more of a hassle than the tank removal or replacement. Better to do that job out of the car if you can! (I did). The filler neck needed grease on the sealing O-ring to be reassembled. I used a lithium grease but don’t know what would be correct. The special formed gaskets for the body were reshaped and reused after applying rust reformer. The shield was reattached using new screws as some of the old ones had to be cut flush. All said and done this is a good long weekend project if you want to tackle it yourself. Simple tools and no help needed. You can do this.
What makes a Thunderbird a Thunderbird?
https://www.hagerty.com/media/car-profiles/thunderbird/
An article about T-Birds from Haggerty Magazine