NW Car Events Calendar
An all inclusive calendar for car events including swap meets cruise-ins and shows in the GNW!
Author Archives: Tim Crawford
Narrows Airport Museum
Plane Museum @ Tacoma Narrows Airport
We can all meet here to attend the museum or have a meal. It is a short drive from Tacoma, just over the bridge take the first exit. This is a unique venue for any event also.
How To remove and replace a ’64-’66 fuel tank on your vintage T-Bird
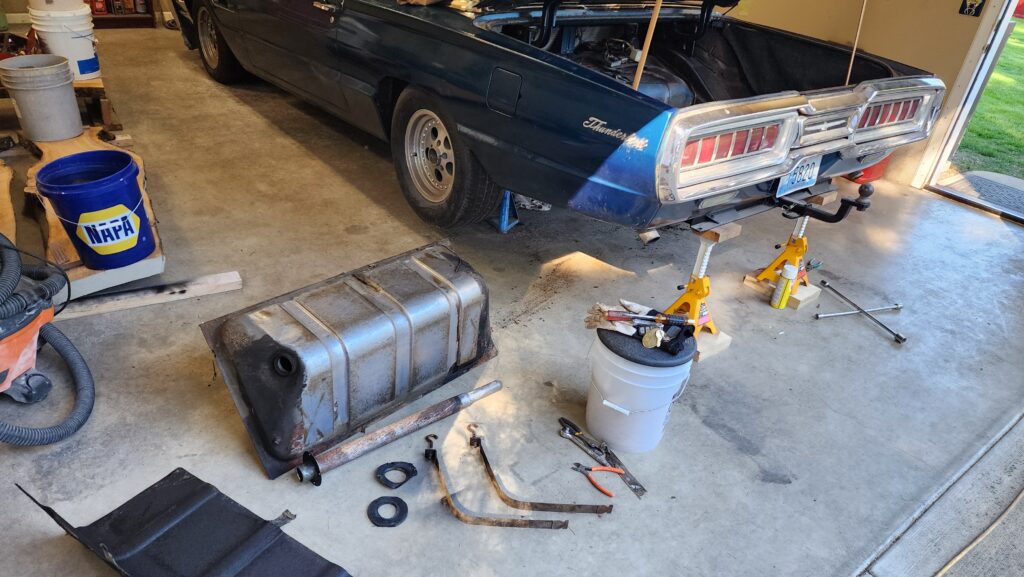
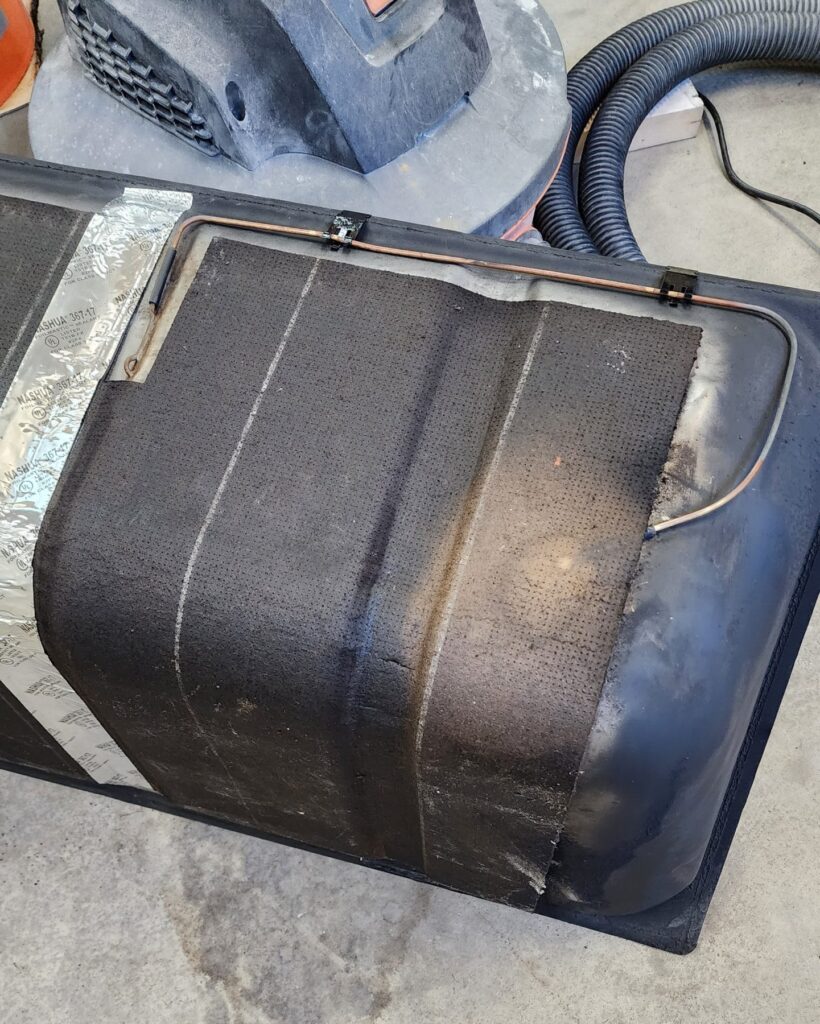
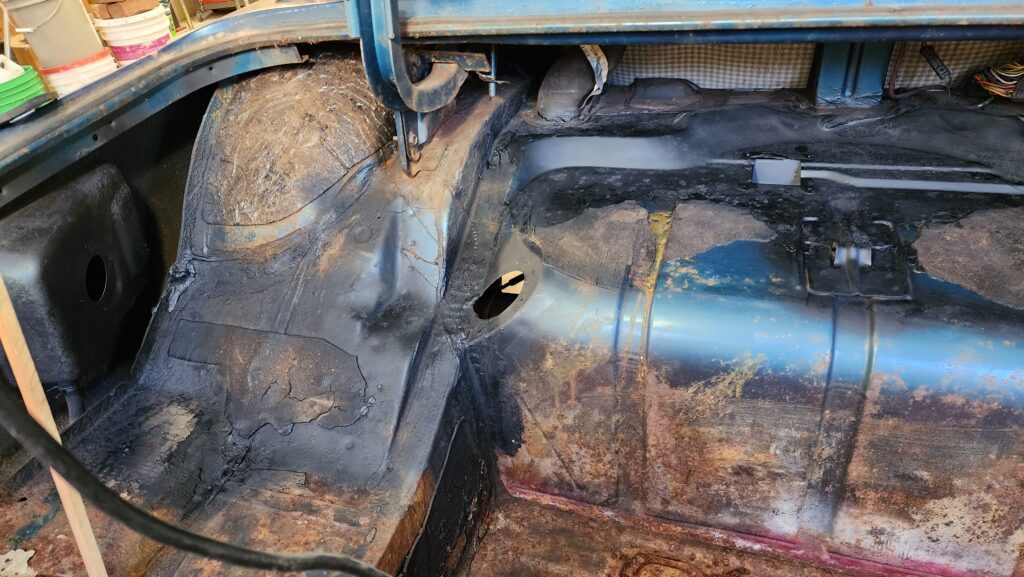
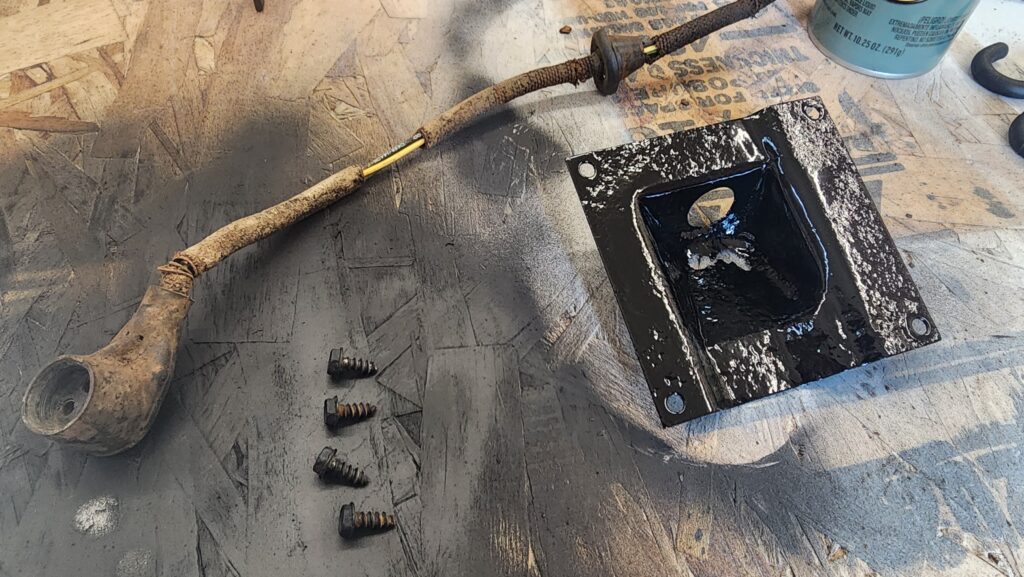
In this image you can see the tank positioned, as it sits in the car, on the floor next to the car with a trail of debris from sliding the tank on the floor out from under the car. This is a 1965 Thunderbird Coupe. I used four jack stands, to hold both the rear axle up and the body, for enough clearance to remove the tank once detached and lowered. First thing to do after emptying the tank and raising car; the rubber fuel line is detached from the sending unit on the front of the tank, held on with a hose clamp. The filler neck assembly is then taken apart and removed by unscrewing four screws on the neck (in the gas door) and sliding the neck out of the gas door. There is also a gasket between the neck and body in the gas door and one “O” ring on the tank end of the neck that will stay in the tank. I used a floor jack to help support the empty tank and lower it. The tank mounting straps are then loosened by way of nuts on the lower end of the hooks when tank is empty. In front of the tank on the floor here is the filler neck. It is a vented neck (effective when filling the tank at a station) using a hole in an outer tube on the neck from high inside the tank up to the gas door area where you can see a large flange at one end of the neck. The hole at the top of the tank is where the filler neck slides into the tank and is sealed by a thick O-ring in a groove in that hole. Next, the two gaskets on the floor are to cover the gaps in the trunk and body in the gas door where the neck passes through those. They are special, steel with rubber over it, formed gaskets. Then the two straps are pictured, as they sit on the assembled tank, with hooks forward. The top and rear of the tank is covered with a thick black felt impregnated with a tarlike preservative. It is pictured just left of the tank.
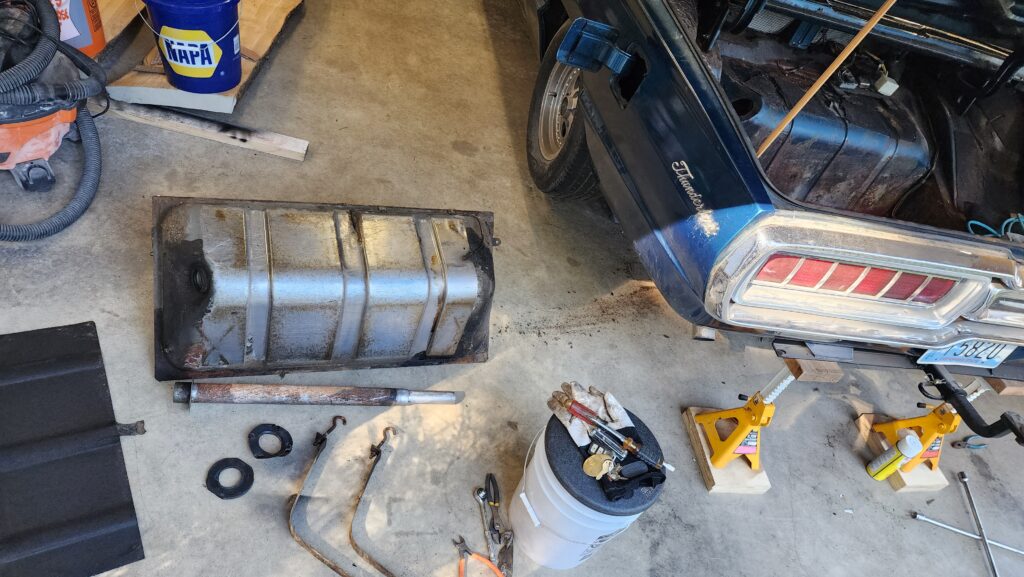
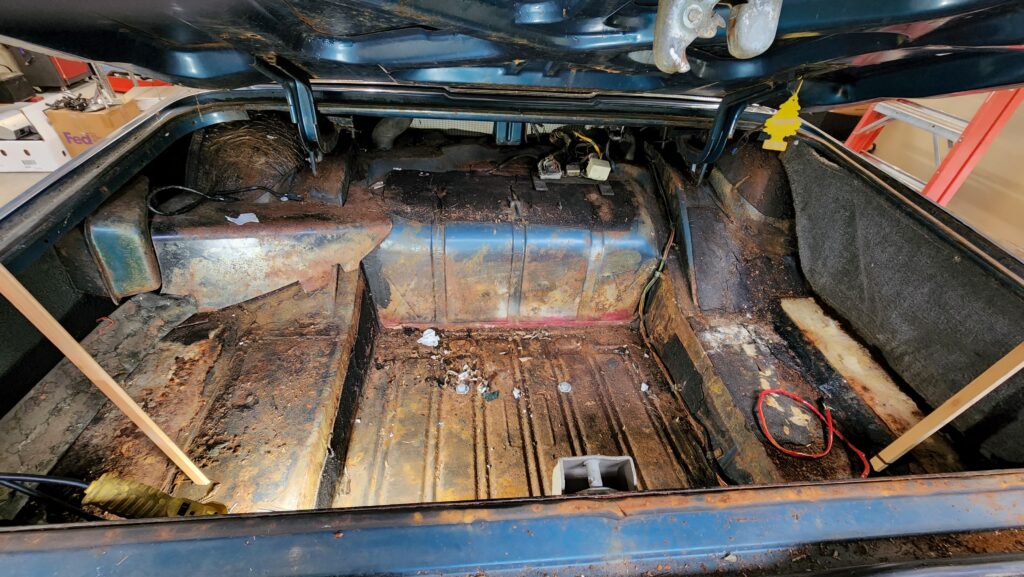
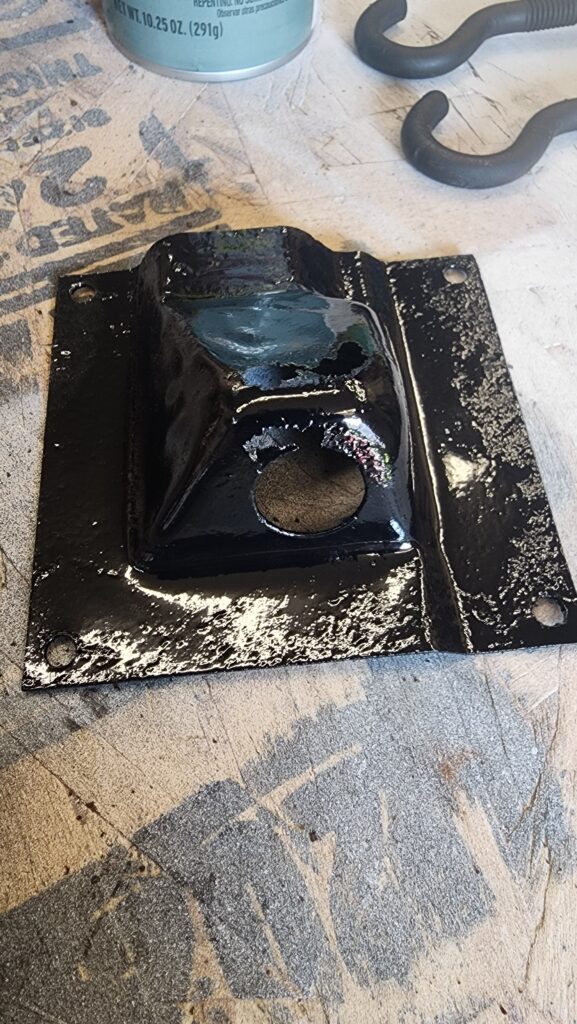
Here you can better see the trunk’s shape for the tank and the holes for the filler neck’s route to the tank.
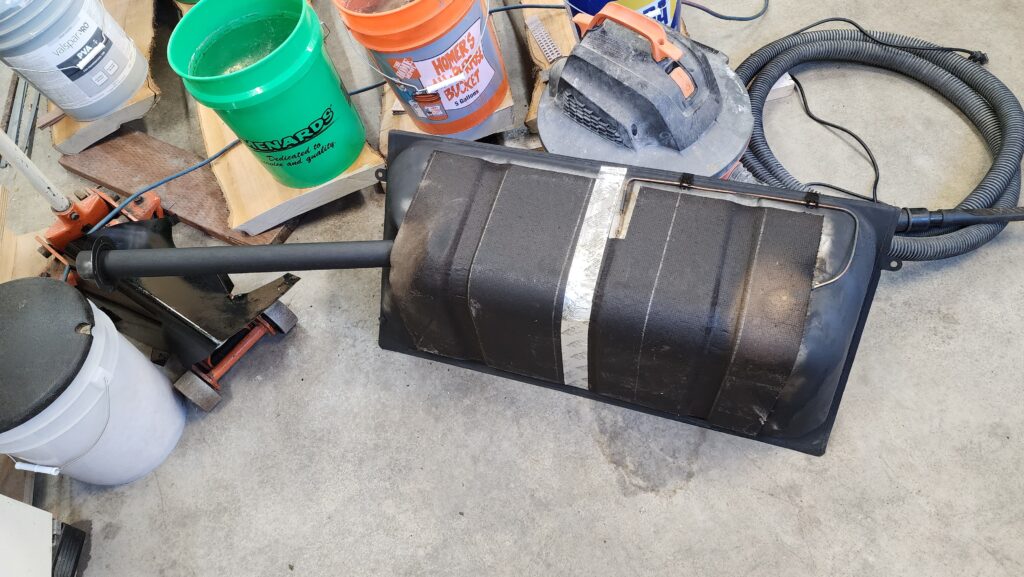
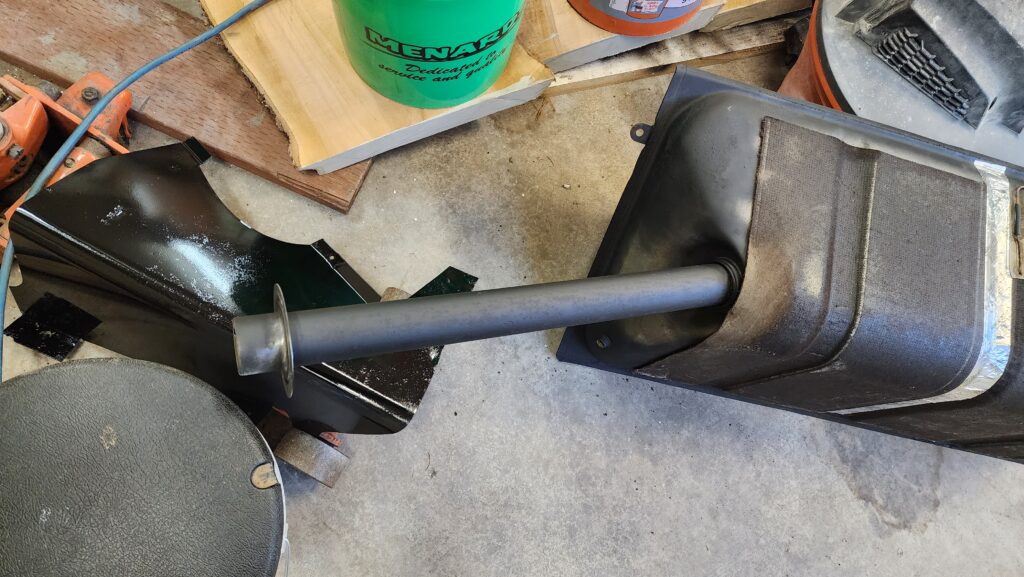
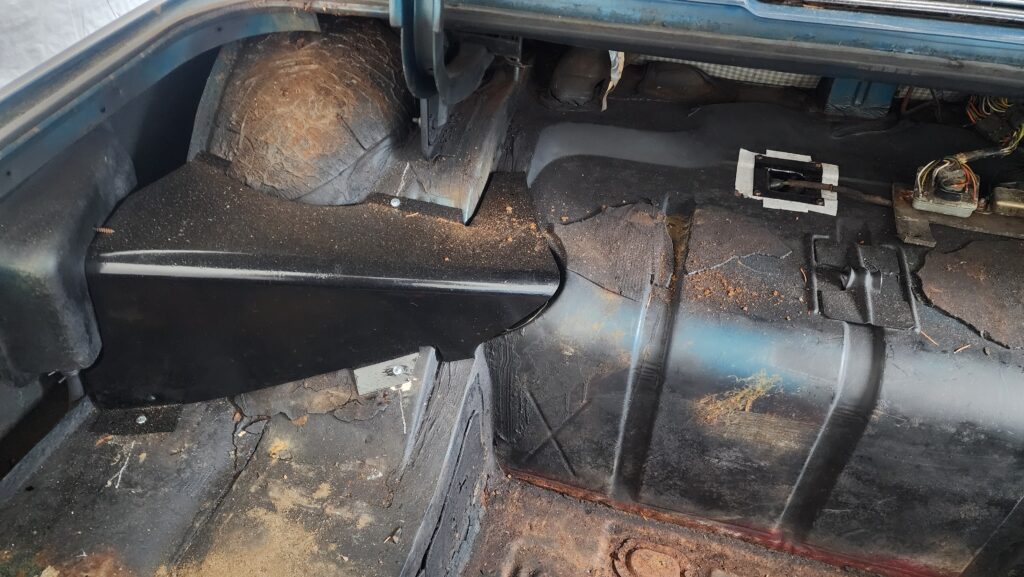
Cleaned up and rust reformed here is the assembled filler neck, felt and brass expansion tube. Use foil backed HVAC tape to secure the felt to the tank, it lasts much longer.
Inside the trunk is a shield to protect the filler neck pictured here under the neck.
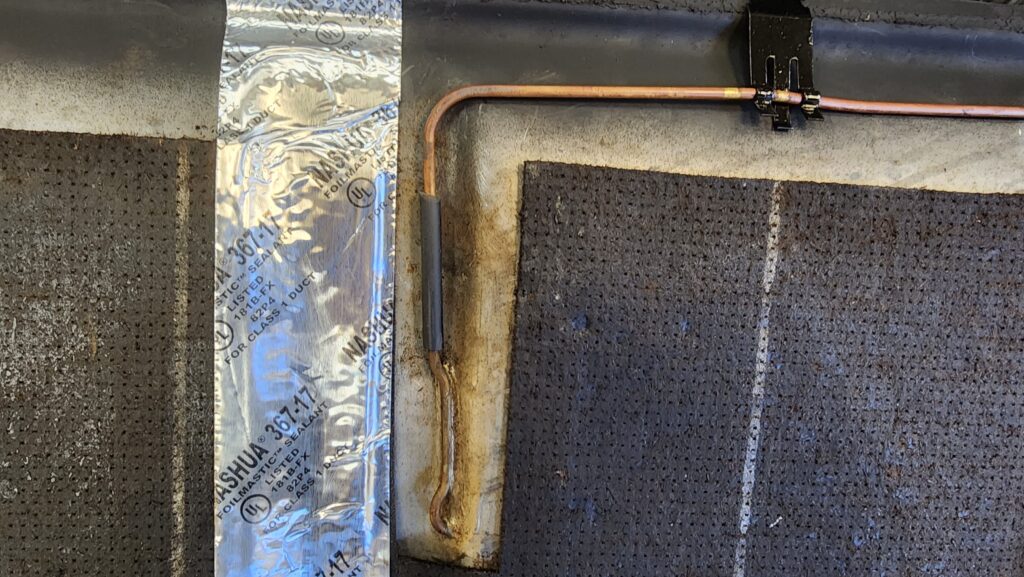
The original rubber for the tube junctions were hard and broken. The brazed tubing joint into the tank was good still. Clips for the tubing were blasted and painted.
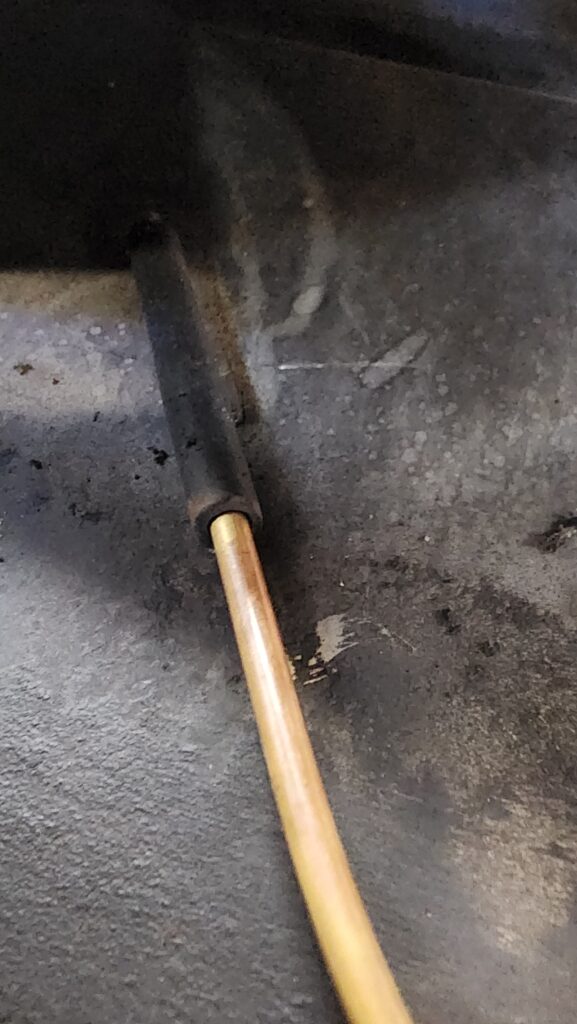
It just ends under the felt. There are stains from the vapors washing the preservative out of the felt and on the tank here. The tubing was cleaned and restored to shape also.
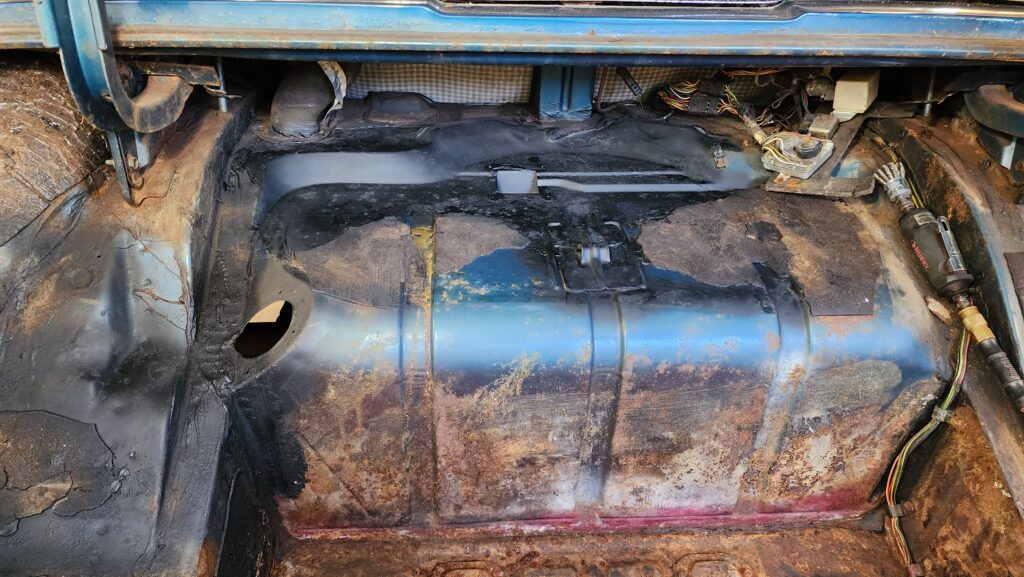
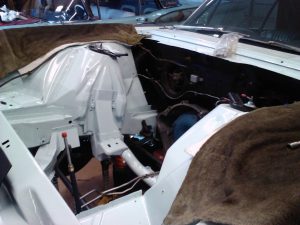
Much of the trunk’s sound damping was removed here and rust reformer was applied after cleaning with a stiff wire brush on a power tool (in the right of the photo). The main concerns were the “fuel tank level indicator” wire routing, metal insert above the tank (which goes in the square bowl at the end of the wiring groove) and the filler neck areas
There was a lot of surface rust. One day it will all be blue again (midnight turquoise) and covered in the houndstooth material seen on the back seat here.
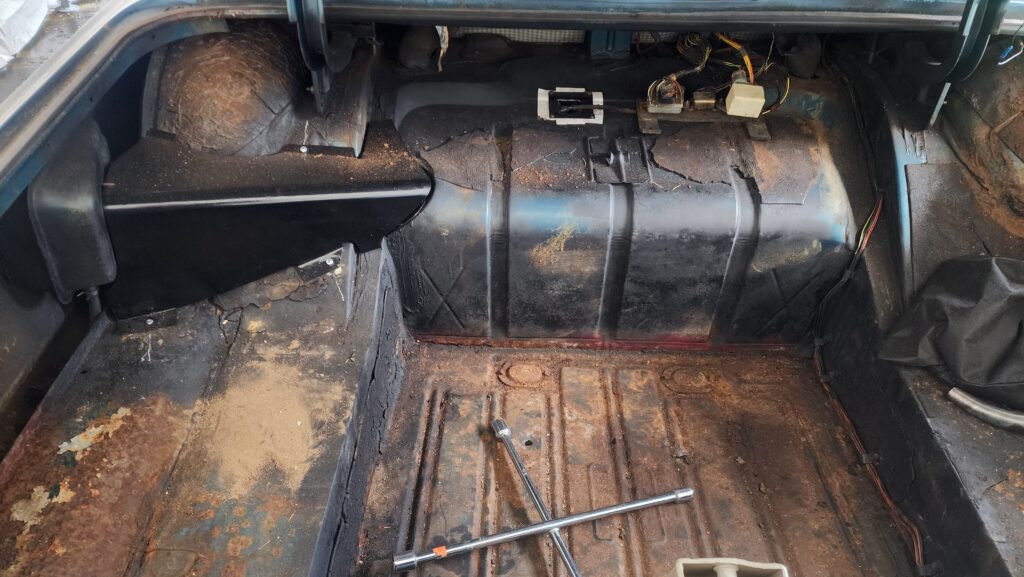
The reassembly was easy enough done alone. Using a floor jack and some pre assembly of the straps in place, the tank went up and in place with little drama. The tank level indicator was also replaced on this project and was more of a hassle than the tank removal or replacement. Better to do that job with the tank out of the car if you can! (I did). The filler neck needed grease on the sealing O-ring in the tank to be reassembled. I used a lithium grease. The special formed gaskets for the body were reshaped and reused after applying rust reformer. The neck shield was reattached using new screws as some of the old ones had to be cut flush. All said and done this is a good long weekend project if you want to tackle it yourself. Simple tools and no help needed. You can do this.
What makes a Thunderbird a Thunderbird?
https://www.hagerty.com/media/car-profiles/thunderbird/
An article about T-Birds from Haggerty Magazine
Carol Jean & Keith – 1962
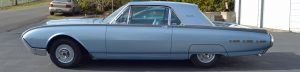
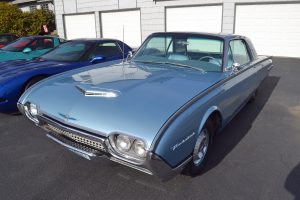
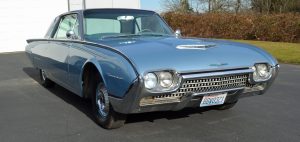
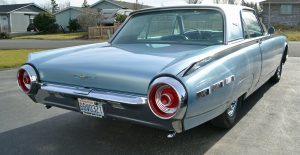
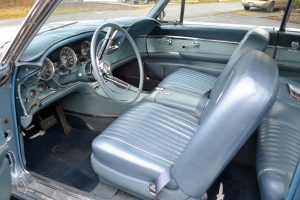
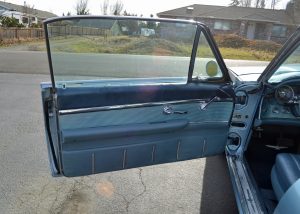
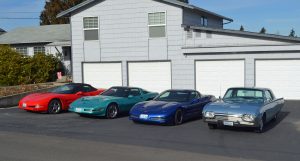
This is a nicely restored 1962 Thunderbird that we just bought. It has had a complete rebuild, with a rebuilt engine, transmission, front end, new shocks all around, new radiator and heater core, with all new brakes and brake lines. The paint is very nice Acapulco Blue, with blue leather interior, as the car was originally made. It is a very nice cruiser and shares garage space with Keith’s 3 Corvettes, which drive quite differently from the Thunderbird.
The three Corvettes all drive much differently from each other. The red 2000 convertible is a nice, refined cruiser. The blue 2002 Z06 is somewhat of a beast with a stiffer suspension, and 100 more HP, than the 2000. The 1991 turquoise is more like a high powered go kart, especially since it is supercharged. Below 4500 RPM it makes more power and torque than the 2002 Z06.
Fred Rubio – 1984
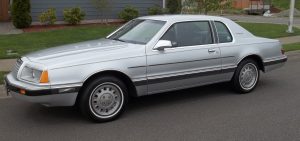
I purchased the 1984 Elan Thunderbird from original owner in Seattle in 2013 with records and showroom brochures. It is difficult to find one that hasn’t been molested.
Original silver clear coat with charcoal interior with console, swing out vent windows, 302 V-8 fuel injection, rear drive, rack and pinion steering, and road wheels.
Was best original car in the 80s at the Wenatchee Classy Chassis show in 2013.
Campsmith-1963

1963 Thunderbird Convertible
Over the years I have owned and restored a wide variety of cars, among them a 1974 Triumph TR6 and a 1975 Cadillac Eldorado convertible. I have always been a Ford man at heart, and have long loved the looks of the 1961-1963 Bullet Birds. While living in Atlanta in 2011 I started seriously looking for a convertible Bullet Bird with a light colored paint scheme and a light interior. I was also pretty adamant that I didn’t want to take on another project car, but we all know about good intentions.
I found my Bird (located in Massachusetts) on eBay and took a look at it in person. The color is Diamond Blue (light blue, almost robin’s egg color) and had been repainted but seemed original and complete. It came with the 1963-only two-tone seats (medium blue and light blue) and I was hooked. Yes, it blew smoke and yes, it needed a new interior—but I was in love! I figured I would just put in a new interior and then enjoy driving it around the beautiful Pacific Northwest (we moved to Federal Way in September 2012).
Fast forward to January 2017. Over the past 5 years I have learned (painfully!) just how many deficiencies my baby had. Currently the engine is out for a rebuild and it is in the paint shop for the third time. But it is a labor of love and despite all the challenges I wouldn’t trade my car for the world.
I have found a wonderful like-minded group of Thunderbird enthusiasts in the Rainier South Sound Vintage Thunderbird Club, and I encourage to you to join us in the enjoyment of all things Thunderbird!
Update on restoration of 1963 Thunderbird convertible
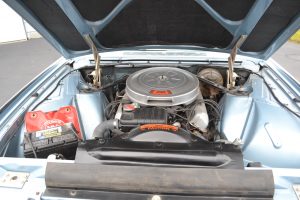
When I bought my Bird in 2011 I didn’t realize the paint scheme was not correct. My car had the engine bay and underside of the hood painted black. Later I learned Bullet Birds (1961-1963) are supposed to have the engine bay painted body color (with late 62’s & all 63’s having a black firewall). Since the engine needed to be rebuilt (another story all by itself) I decided to have the appropriate areas painted while the engine was out at the machine shop.
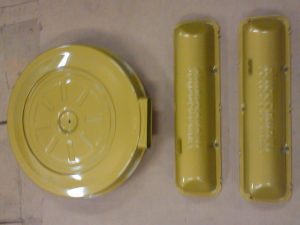
The car came out of the paint shop on January 16; the photo shows how much better it looks with body color in the right spots. The second photo shows the repainted valve covers and air cleaner cover in the correct 1963-only Castillian Gold.
Parts are slowing going back on the car, with the rebuilt steering gear box being the first. Not sure when the engine will be ready, but I am hoping to be able to drive the car to the March 2017 RSSVTC meeting (fingers crossed!).
Cohn-1965

I’ve owned my Thunderbird since September of 1991.
My odyssey began with my oldest driving my daily driver, and me driving the Thunderbird.
The restoration began with the engine being redone in 1992 on through the first complete restoration paint done in 1997 and the second in 2016. As with each of our Birds there is a story. Mine is not so unique but it did offer challenges. Shortly after I got the first gate release and found that my metallic Maroon Bird was really Brittany Blue sent to Omaha, NE. The second release is for my Bird and is from LA. Metallic maroon with a similar colored interior is one of the beauties of this 1965 thunderbird.
This Bird does fly around the NW from Boise ID. Spokane to Chelan to Grants Pass; way down south in Oregon and points along the way and elsewhere.
Hatley-1961
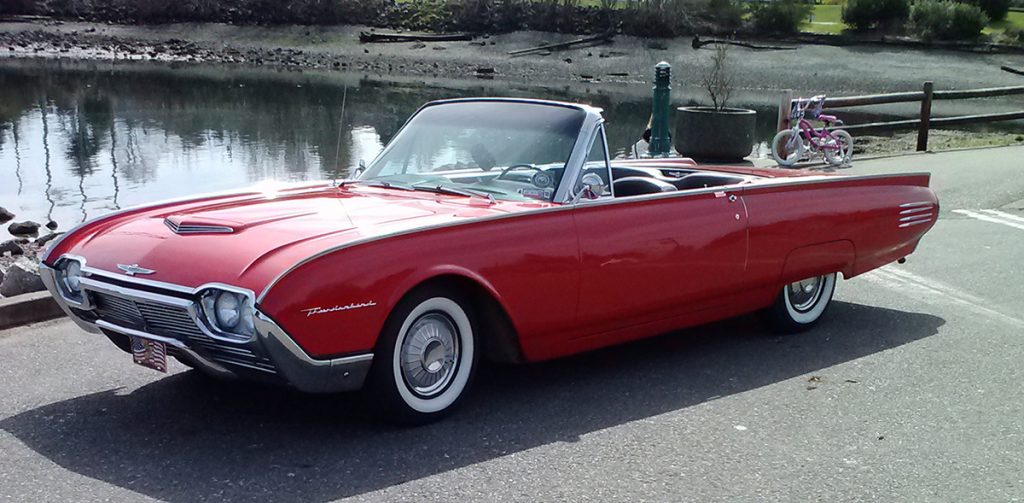
We have owned our 1961 Thunderbird convertible since 2007.
I found it in Bremerton WA on consignment. The car was red with a white top and 15″ spoked wheels that didn’t belong on it.
Over the years a new black convertible top and 14″ steel wheels were added, original hub caps and a new black dash. The engine and transmission were rebuilt stock in 2010. In 2015 the car was body sanded to metal (no rust) and a new paint job was added original color MONTI CARLO RED to finish the great classic look.
We love going to car shows all over the Northwest from Portland OR, Spokane WA, Kelowna Canada, and all around the Puget Sound and Olympic peninsula. We are members of the VTCI and really enjoy meeting all the people with classic cars at many shows.